There comes a point every canning season when I stop wanting to put individual ingredients on the shelf and start wanting to put actual meals up.
I love having jars of tomatoes, green beans, broth, pickles, and everything else coming out of the garden. I use all of it. But a quart of tomatoes still requires me to figure out what we’re having for dinner.
A quart of taco soup is dinner.
That was the goal with this recipe.
I wanted a hearty taco soup with plenty of ground beef, beans, fresh corn, and tomatoes. Something substantial enough that I could open a jar in January, heat it on the stove, put cheese and sour cream on the table, and call everyone in for dinner.
And I wanted plenty of beef in it.
A lot of taco soups are heavy on the beans, corn, and tomatoes, with just enough hamburger to say it’s there. That’s never really worked for us. With teenage boys at home, if I’m opening a quart jar and calling it dinner, it needs to have some protein in it.
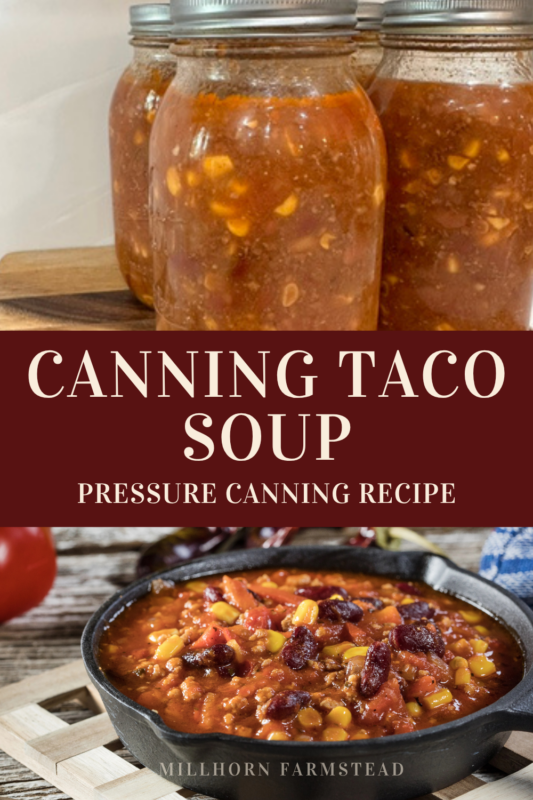
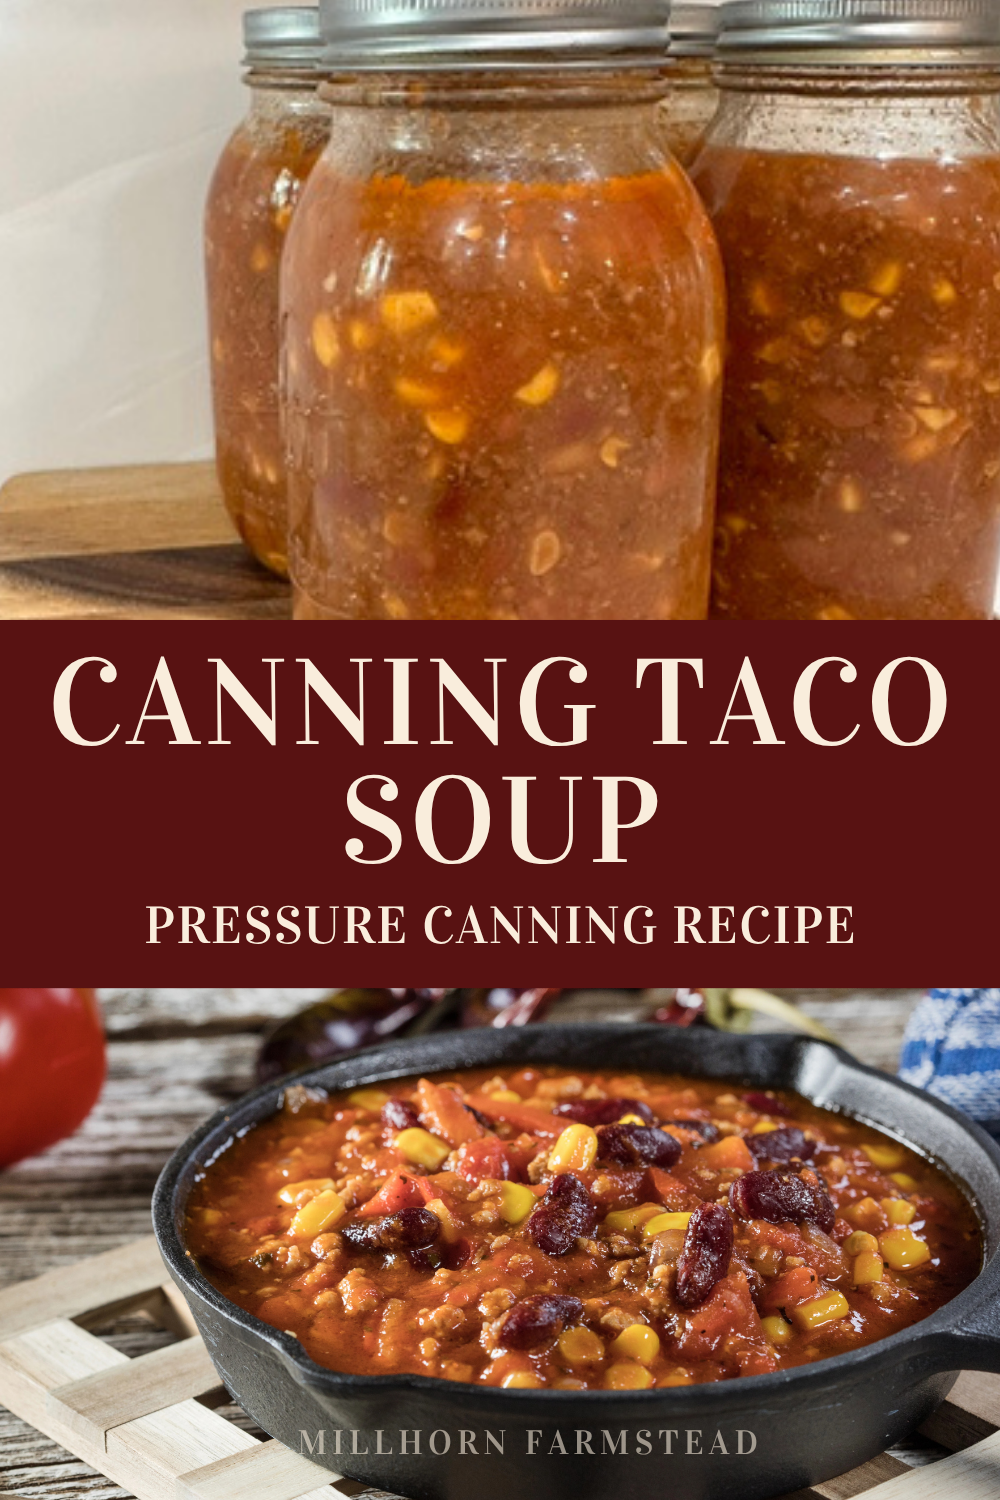
I use 3 1/2 pounds of ground beef, along with pinto beans, black beans, fresh corn from the garden, my home-canned stewed tomatoes, and beef broth.
The recipe makes 7 quarts plus a pint, which works out particularly well for me. Seven quarts fill my pressure canner, and the extra pint can go straight into the refrigerator for lunch or dinner.
It’s the kind of canning I appreciate more every year: real food from the pantry that doesn’t still require me to make dinner.
Why I Like Canning Complete Meals
There are two kinds of jars I want in my pantry.
The first are the building blocks.
My Canning Stewed Tomatoes are a perfect example. I purposely don’t heavily season them because I don’t necessarily know what I’m going to make with them when I put them up. They might eventually become chili, soup, pasta sauce, or something completely different.
The same goes for Canning Bone Broth. I use a tremendous amount of it, especially through fall and winter, but it is still an ingredient.
Then there are the jars I can open and eat.
Those are becoming some of my favorite things to can.
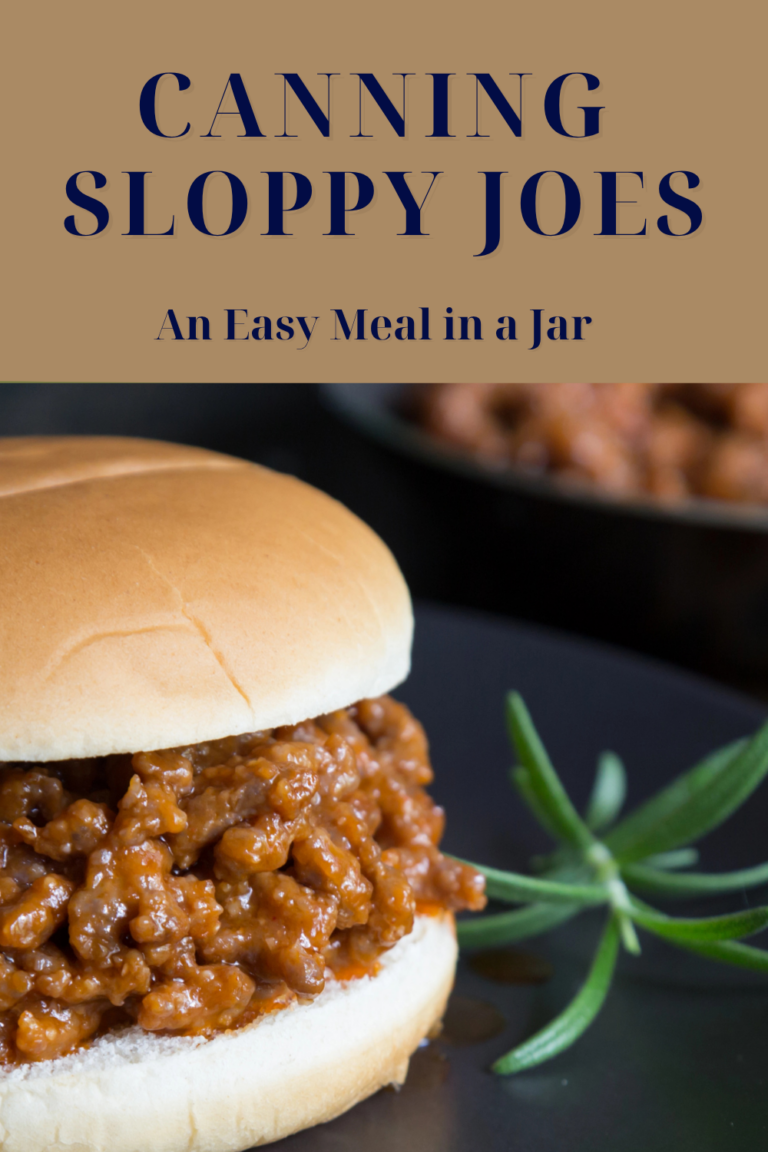
My Canning Sloppy Joes are one of them. This taco soup is another.
There is something pretty satisfying about looking at a row of quart jars and knowing that each one represents a dinner I don’t have to cook from scratch later.
This recipe also gives me another way to use the garden when everything seems to be ready at once. Fresh corn, onions, garlic, and tomatoes can all go into the same pot and become a winter meal instead of another row of individual ingredients.
If you’re currently staring at more tomatoes than you know what to do with, I’ve collected all of my recipes in Tomato Canning Recipes. This is exactly the time of year I start working my way through that list.
Pressure Canned Taco Soup
Ingredients
Method
- Combine the pinto and black beans in a large pot with 9 cups of water.
- Bring to a boil and boil for 2 minutes.
- Remove the pot from the heat, cover, and let the beans soak for 1 hour.
- Return the beans to the stove and bring them back to a boil. Drain and set aside.
- While the beans are soaking, brown 3 1/2 pounds of ground beef.
- Break the beef into fairly small pieces as it cooks. Once it is completely browned, drain off the excess fat well.
- Add the chopped onion and cook until it begins to soften. Add the garlic and cook for another minute.
- Transfer everything to a large stockpot.
- Add the drained beans and fresh corn to the beef.
- Pour in the stewed tomatoes and 32 ounces of beef broth.
- Add the chili powder, chipotle powder, cumin, oregano, garlic powder, onion powder, black pepper, and salt.
- Stir everything together.
- At this point, take a look at the soup.
- The solids need to be covered with liquid. If 32 ounces of broth isn’t enough for your particular batch, add additional beef broth or water.
- Don’t cook the soup down to make it thicker.
- Bring the entire pot to a boil and boil for 5 minutes.
- Now you’re ready to fill the jars.
- This is the part of the recipe where I want you to pay attention to the ratio rather than trying to get as much food as possible into each jar.
- Using a slotted spoon, add the beef, beans, corn, and vegetables to a hot quart jar.
- Stop when the jar is halfway full of solids.
- Do not pack them down.
- Ladle the hot tomato and broth mixture over the solids, leaving 1 inch of headspace.
- Remove air bubbles and check the headspace again.
- If you need additional liquid, use boiling beef broth or boiling water. Don’t solve a shortage of liquid by adding more solids to the jar.
- Wipe the jar rim, center the lid, and tighten the band fingertip tight.
- Continue filling the remaining jars the same way.
- My batch produced seven quarts plus one pint, but yield can vary slightly depending on how finely the vegetables are chopped, how much liquid the beans absorb, and how much additional broth is needed.
- Place the jars into your prepared pressure canner and secure the lid.
- Heat the canner with the vent open. Once a strong, steady stream of steam is coming from the vent, allow the canner to vent for a full 10 minutes.
- Then close the vent or add the weight and allow the canner to come to the correct pressure.
- Process quart jars for 75 minutes.
- For a dial-gauge pressure canner, use:
- 0–2,000 feet: 11 PSI
- 2,001–4,000 feet: 12 PSI
- 4,001–6,000 feet: 13 PSI
- 6,001–8,000 feet: 14 PSI
- For a weighted-gauge pressure canner, use:
- 0–1,000 feet: 10 PSI
- Above 1,000 feet: 15 PSI
- Start your 75-minute timer only after the canner reaches the correct pressure.
- If the pressure drops below the required pressure at any point during processing, bring the canner back to pressure and restart the processing time from the beginning.
- When the processing time is finished, turn off the heat and let the canner return to zero pressure naturally.
- Do not try to speed this up.
- Once the canner has completely depressurized, remove the weight or open the vent and wait another 10 minutes before opening the lid.
- Open the lid away from your face and remove the jars to a towel-covered counter.
- Leave them alone for 12 to 24 hours before checking the seals, removing the bands, washing the jars, and putting them away.
Notes
Can You Pressure Can Taco Soup?
Yes, but taco soup must be pressure canned.
We’re dealing with beef, beans, corn, onions, and other low-acid ingredients. This isn’t something that can be made safe by adding a little extra acid and putting it in a water bath canner.
For this recipe, I’m using the established method for pressure canning soups.
There is one part of that method that is particularly important: the jars cannot be packed full of solids.
When I filled these jars, I put the beef, beans, corn, and other solids into the jar only until it was about halfway full. Then I filled the remainder with the hot soup liquid, leaving 1 inch of headspace.
It will look like a lot of broth.
Leave it alone.
Do not look at all that empty liquid space and decide you can squeeze another scoop of hamburger and beans into the jar.
The beans continue absorbing liquid during processing. When my jars came out of the canner, they looked considerably thicker than they had going in. The beans, beef, and corn settled toward the bottom, with more of the tomato broth toward the top.
Once everything cools, that’s exactly what I expect to see.
About This Canning Recipe
I want to be clear about how I developed this recipe.
This exact taco soup recipe has not been independently laboratory tested as its own formulation. I built it using ingredients that have established pressure-canning recommendations and the established method for pressure canning soup.
That means there are parts of the recipe I don’t mess with.
The dried beans are fully rehydrated before they go into the soup. The ground beef is browned and drained. The combined soup is brought to a boil before filling the jars. The jars are filled with no more than half solids, with hot liquid making up the remainder. And the jars are processed for the full required time at the correct pressure for your elevation.
If you only can recipes that have been laboratory tested in their exact formulation, choose a current tested recipe from a trusted home-canning authority.
You Don’t Have to Soak the Beans Overnight
This might be one of my favorite things about this recipe.
You don’t have to remember to soak the beans the night before.
I am forever deciding what I’m going to can after I’ve already started my day, so the quick-soak method works much better for me.
This recipe uses 1 1/2 cups dried pinto beans and 1 1/2 cups dried black beans.
Put all 3 cups of dried beans into a large pot and add 9 cups of water.
Bring the beans and water to a boil and boil for 2 minutes. Remove the pot from the heat, cover it, and let the beans sit for 1 hour.
After the hour is up, return the pot to the stove and bring the beans back to a boil.
Drain them.
Don’t worry that the beans aren’t soft enough to eat yet. They shouldn’t be. They still have a long trip through the pressure canner ahead of them.
Using Fresh Corn in Taco Soup
I actually waited to make this soup until my fresh corn was ready.
I wanted that late-summer corn in the jars with the tomatoes and beef.
Cut the kernels from the cob and measure 3 cups. I don’t scrape all of the corn milk and pulp from the cob into this recipe. I want kernels without adding something that will unnecessarily thicken the soup.
And that is something to keep in mind throughout this recipe.
We want soup.
Not chili.
There needs to be plenty of free-flowing liquid surrounding all of those solids.
Why Does My Taco Soup Look So Thick After Canning?
Don’t be surprised if your finished taco soup looks quite a bit thicker than it did when you filled the jars. The beans continue to soak up some of the broth while they’re in the pressure canner, and everything settles as the jars cool.
This is one reason it’s important not to overfill the jars with beef and beans. That extra broth going into the canner is there for a reason.
Once you open a jar, give it a good stir while it heats. I usually decide then whether it needs a splash of Homemade Bone Broth. Some nights I want it thick and loaded with toppings; other nights I’ll add enough broth to make it more of a soup.
How We Serve Taco Soup
I keep the soup itself fairly straightforward because everyone can doctor their own bowl.
I usually put shredded cheese, sour cream, tortilla chips, and whatever else we have on the table.
Avocado is good. So are sliced jalapeños, cilantro, lime, queso fresco, or a little hot sauce.
If someone wants it hotter, they can make their bowl hotter.
If I want to stretch a quart a little further, I add some beef broth while it’s heating and serve something alongside it.
But most nights, that’s it.
Open a jar. Heat it. Put the toppings on the table.
Dinner.
Frequently Asked Questions About Canning Taco Soup
Can I water bath can taco soup?
No. Taco soup contains low-acid ingredients including beef, beans, corn, and onions and must be pressure canned.
Can I Add More Ground Beef?
Not while keeping the same canning method.
I specifically wanted this recipe to contain plenty of beef, which is why I started with 3 1/2 pounds. But that doesn’t mean we can keep increasing the meat and packing the jars more densely.
The half-solids rule still applies.
If you want even more meat in your taco soup, add cooked ground beef when you open the jar.
The same principle applies to the beans and corn.
More isn’t always better when we’re putting food in a pressure canner.
Can I Add Cheese or Sour Cream Before Canning?
No.
Those are serving ingredients.
Don’t add cheese, sour cream, cream cheese, flour, cornstarch, masa, or another thickener to the jars before pressure canning.
Add all of that after you open the jar.
Honestly, the toppings taste better fresh anyway.
Building a Pantry With Food We Actually Eat
I’ll always can plenty of plain ingredients. Tomatoes, broth, vegetables. They’re the backbone of my pantry and I use them constantly.
But the older I get, the more I appreciate having complete meals on the shelf too. When I’m planning what to preserve, I’m not only thinking about what needs to come out of the garden today. I’m thinking about what will make life easier six months from now.
That’s why Canning Minestrone Soup, Canning Sloppy Joes, and recipes like this one have earned their place alongside all those single-ingredient jars.
A quart of tomatoes gives me options.
A quart of taco soup gives me dinner.
There is room on my shelves for both.
And sometime this winter when it’s dark at 4:30, I’ve been outside all day, and I have absolutely no interest in figuring out dinner, I already know which jar I’m going to be happiest to see.
-
Canning Sloppy Joes: An Easy Meal in a Jar Recipe
Canning sloppy joes is one of my favorite ways to turn ground beef and tomatoes into…
-
Homemade Bloody Mary Mix | Canning Recipe
Have you ever tasted a Bloody Mary mix that actually tastes like real tomatoes? Not the…
-
Green Tomato Enchilada Verde Sauce for Canning
Canning Green Tomato Enchilada Sauce When fall frost is around the corner, I inevitably end up…
-
Canning Peaches in Honey
Canning peaches in honey is one of my favorite ways to preserve fresh peaches without using…
-
Dill Pickle Canning Recipe | Crisp Garlic Dill Pickles
There are a few things I make every summer without fail, and this dill pickle canning…
-
Canning Bone Broth: How to Pressure Can Homemade Bone Broth
Canning Nutritious Bone Broth Canning bone broth is one of my favorite ways to make good…