
There are a few things I make every summer without fail, and this dill pickle canning recipe is one of them. Crisp garden cucumbers packed with fresh dill, garlic and onion are a pantry staple around here. Once cucumber season hits, the garden starts producing faster than we can eat them.
If you’re filling the pantry for the year, my pickled asparagus is another easy way to preserve the garden while it’s in season.
*This post contains affiliate links, meaning I may make a small commission off any purchase you make, at no additional cost to you.
I seem to tweak my dill pickle canning recipe a little every summer, but I always come back to the classics: fresh cucumbers, plenty of dill, garlic and onion tucked into every jar.
You can use either white vinegar or apple cider vinegar, as long as it is labeled 5% acidity. White vinegar gives the pickles a brighter, sharper flavor. Apple cider vinegar adds a slightly mellower taste.
I love a jar of homemade bread and butter pickles when I want something a little sweeter. But for everyday eating, a good old-fashioned garlic dill pickle is hard to beat.
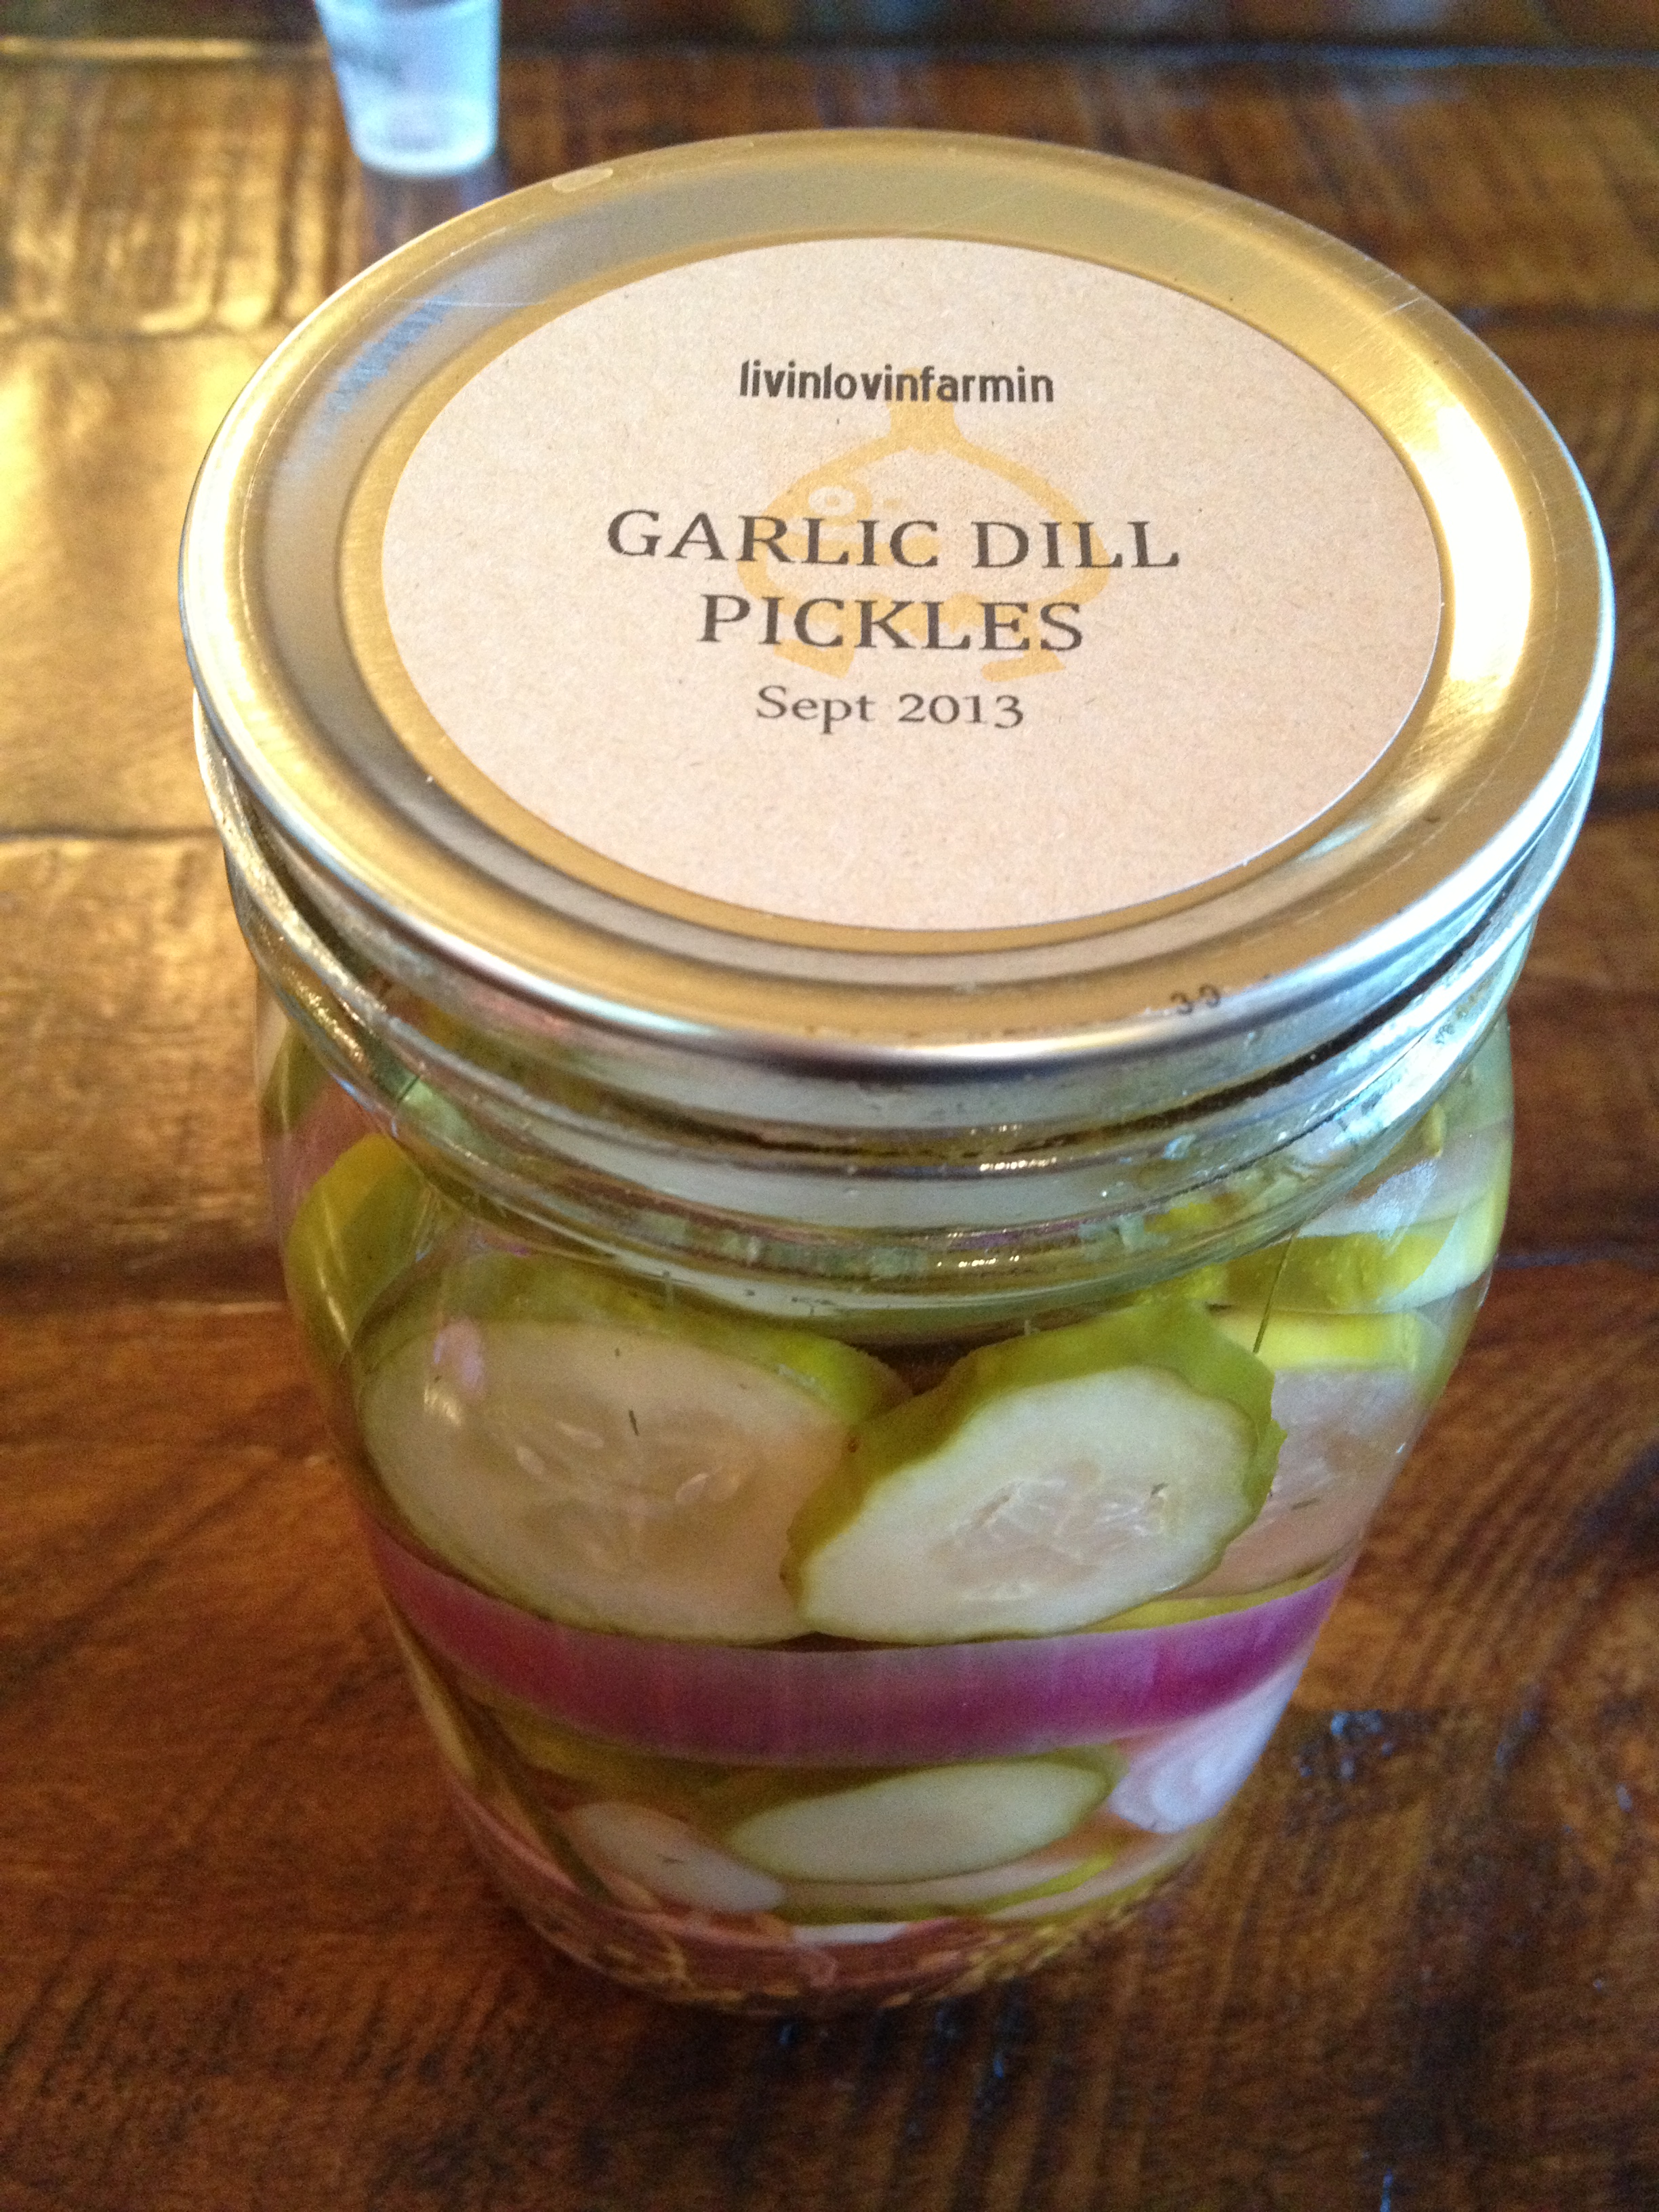
Before starting this dill pickle canning recipe, wash your jars and prepare your water bath canner.
How to Make This Dill Pickle Canning Recipe
Dill Pickle Canning Recipe
Ingredients
Method
- Prepare the Cucumbers
- Wash the cucumbers well under cool running water.
- Trim approximately 1/16 inch from the blossom end of each cucumber. The blossom end contains enzymes that can contribute to softer pickles.
- Leave small cucumbers whole or cut larger cucumbers into spears.
- Peel the onions and slice them into rings or wedges.
- Prepare the Jars
- Wash your canning jars and keep them hot until you are ready to fill them.
- Place fresh dill, garlic and onion into each jar.
- Pack the cucumbers firmly into the jars without crushing them. Leave enough room at the top for the required headspace.
- Make the Brine
- Combine the vinegar, water and canning salt in a large stainless-steel pot.
- Bring the mixture to a full boil, stirring until the salt has dissolved.
- Keep the brine hot while filling the jars.
- Fill the Jars
- Pour the boiling brine over the packed cucumbers, leaving ½ inch of headspace.
- Run a bubble remover or plastic utensil around the inside of each jar to release trapped air.
- Check the headspace again and add additional hot brine if necessary.
- Wipe the jar rims with a clean damp cloth. Center the lids and apply the bands fingertip tight.
- Process the Pickles
- Place the filled jars into a boiling-water canner. The jars should be covered by at least 1 inch of water.
- Once the water returns to a full boil, begin timing.
- For quart jars, process according to your elevation:
- 0–1,000 feet: 15 minutes
- 1,001–6,000 feet: 20 minutes
- Above 6,000 feet: 25 minutes
- When processing is complete, turn off the heat and remove the canner lid. Allow the jars to sit for about 5 minutes before carefully removing them.
- Place the jars upright on a towel or cooling rack and leave them undisturbed for 12–24 hours.
- Check the seals before labeling and storing.
Canning dill pickles is one of my favorite ways to put the summer garden away for another season. A few hours in the kitchen turns an overflowing cucumber harvest into jars we’ll pull from the pantry all year long.
Once the shelves are filled with pickles, there’s always something else coming in from the garden that needs preserving.
Before You Put Them in the Pantry
Before You Put Them in the Pantry
This recipe keeps the onions and garlic from my original family recipe but uses a stronger vinegar brine than the version I previously shared.
Home-canning recommendations change as food-safety research improves. For shelf-stable pickled foods, the National Center for Home Food Preservation recommends using tested recipes. They also caution against altering the proportions of vegetables, vinegar and water.
This particular combination of cucumbers, onions and garlic has not been laboratory tested as a complete formula. Because of that, I consider it a traditional family recipe rather than a USDA-tested canning recipe.
If you want to follow a tested formula exactly, use a current USDA or National Center for Home Food Preservation dill pickle recipe.
A little canning-season tip: Once the jars are empty, I store mine in these jar storage boxes between seasons. They keep the jars organized, protected, and much easier to stack than the half-falling-apart cardboard boxes they came in.
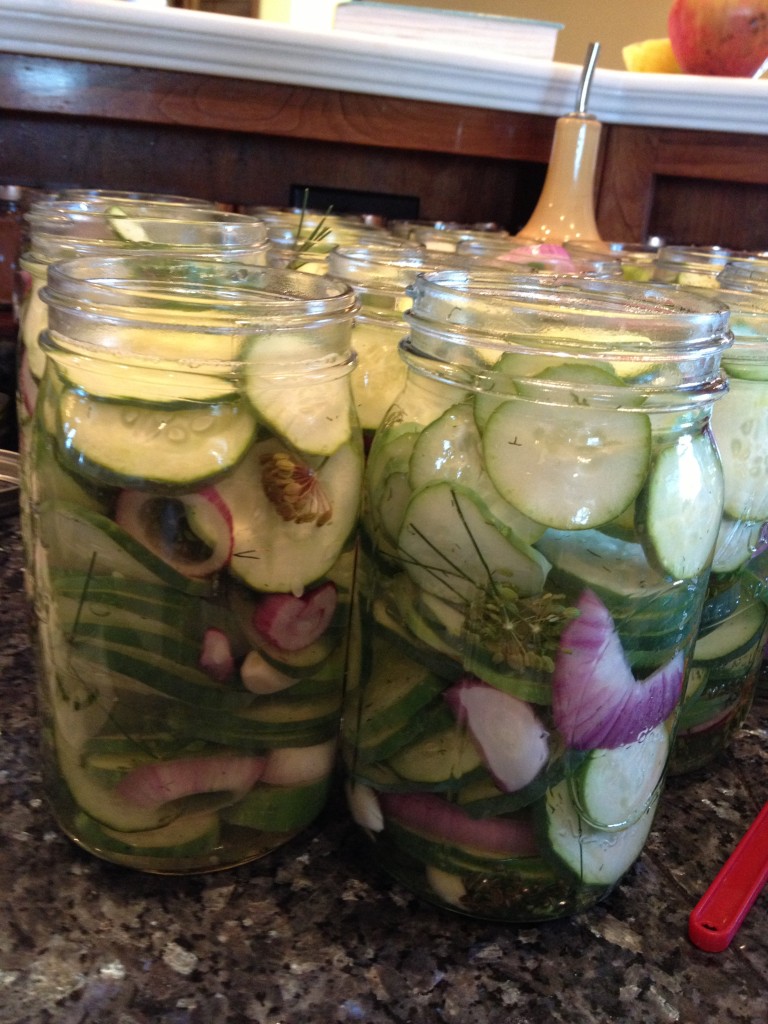
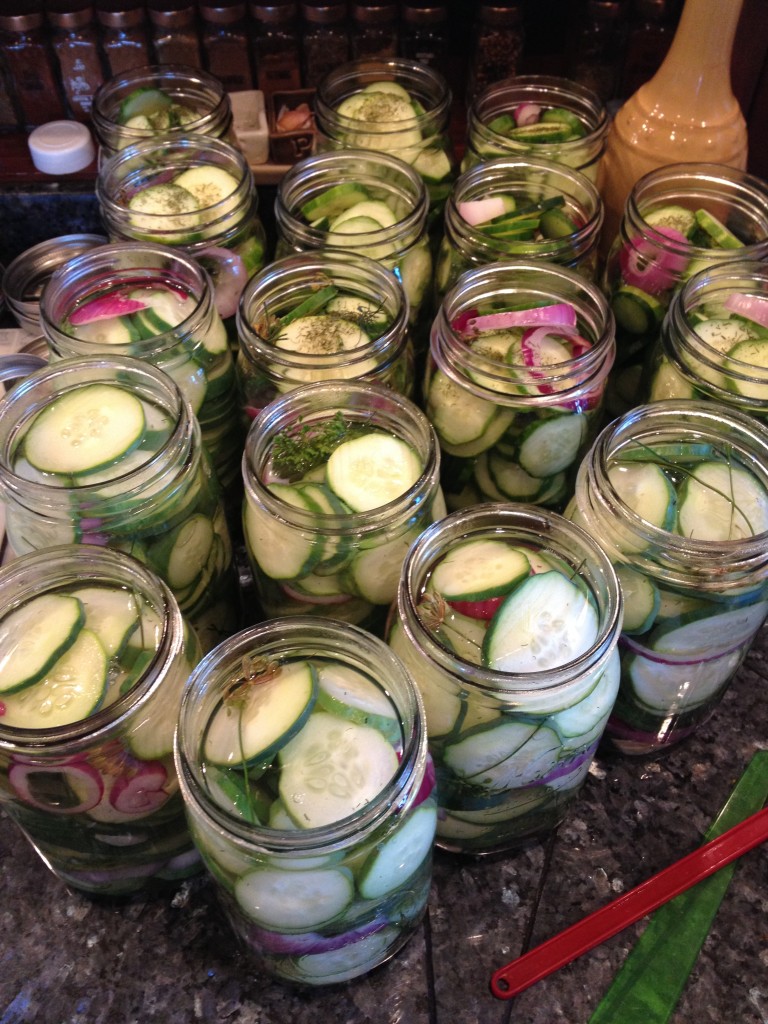
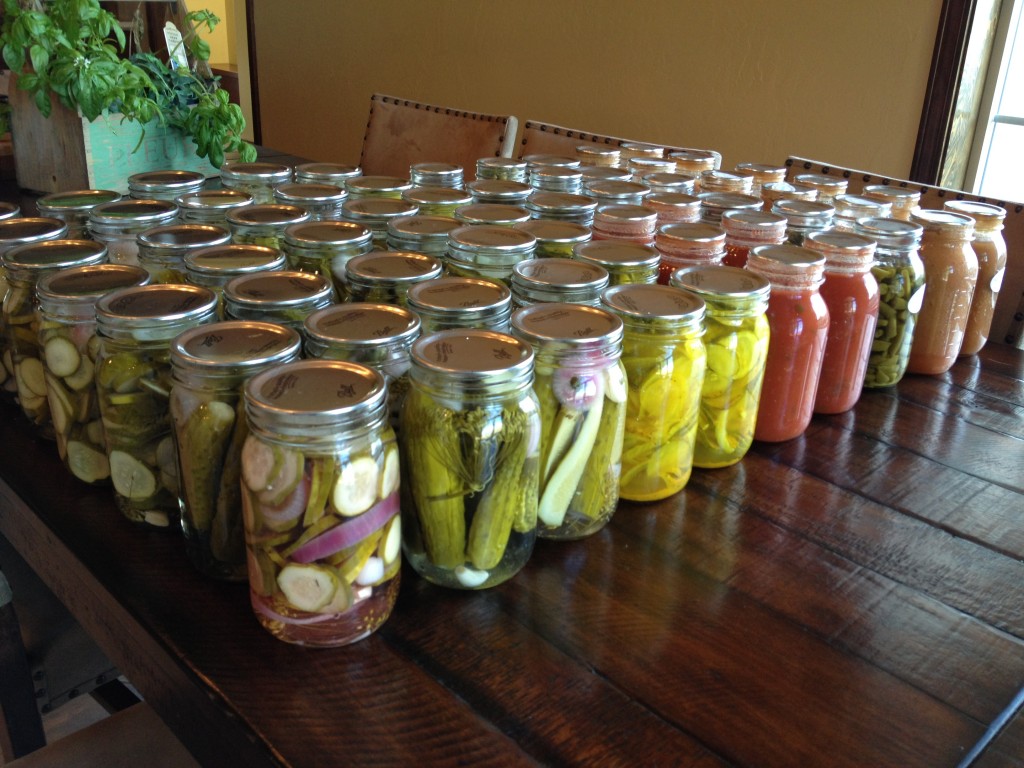
These dill pickles are both crunchy and delicious. We use them in everything from eating plain to deviled eggs, burgers and tuna/egg salads. A must have in the pantry!
For more preserving posts, checkout these great posts
-
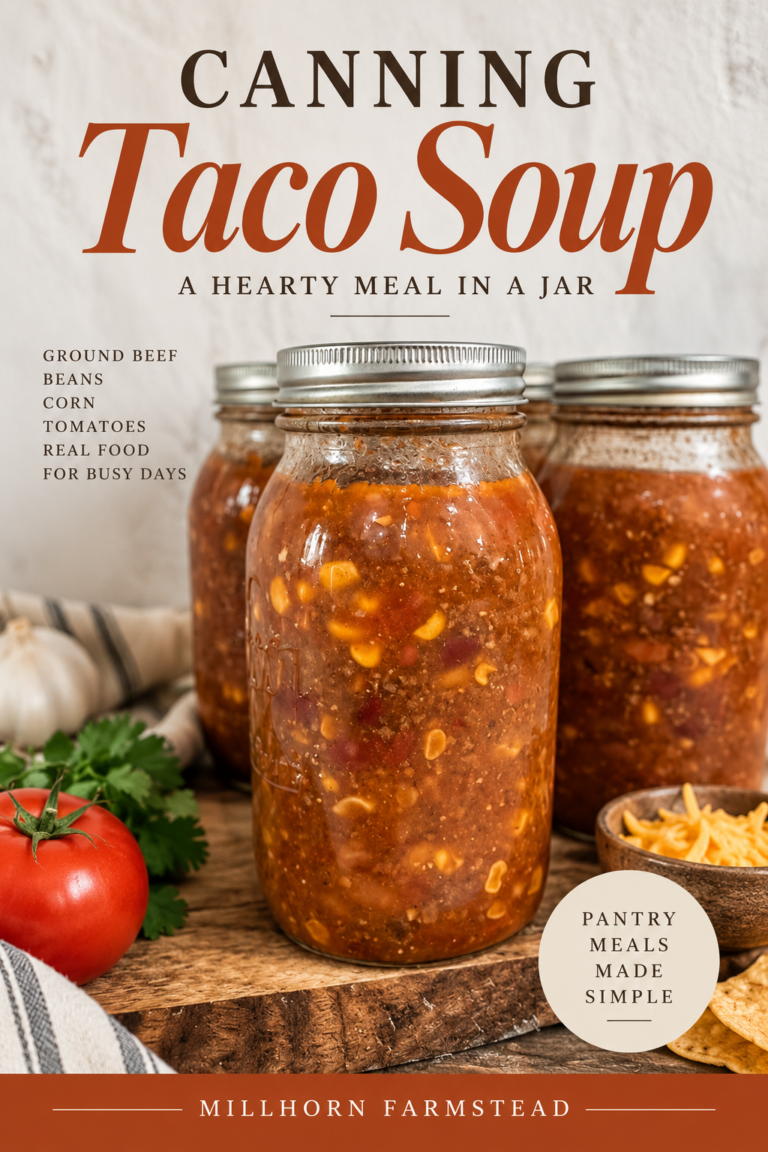
Canning Taco Soup: A Hearty Beef and Bean Meal in a Jar
There comes a point every canning season when I stop wanting to put individual ingredients on…
-
Canning Sloppy Joes: An Easy Meal in a Jar Recipe
Canning sloppy joes is one of my favorite ways to turn ground beef and tomatoes into…
-
Homemade Bloody Mary Mix | Canning Recipe
Have you ever tasted a Bloody Mary mix that actually tastes like real tomatoes? Not the…
-
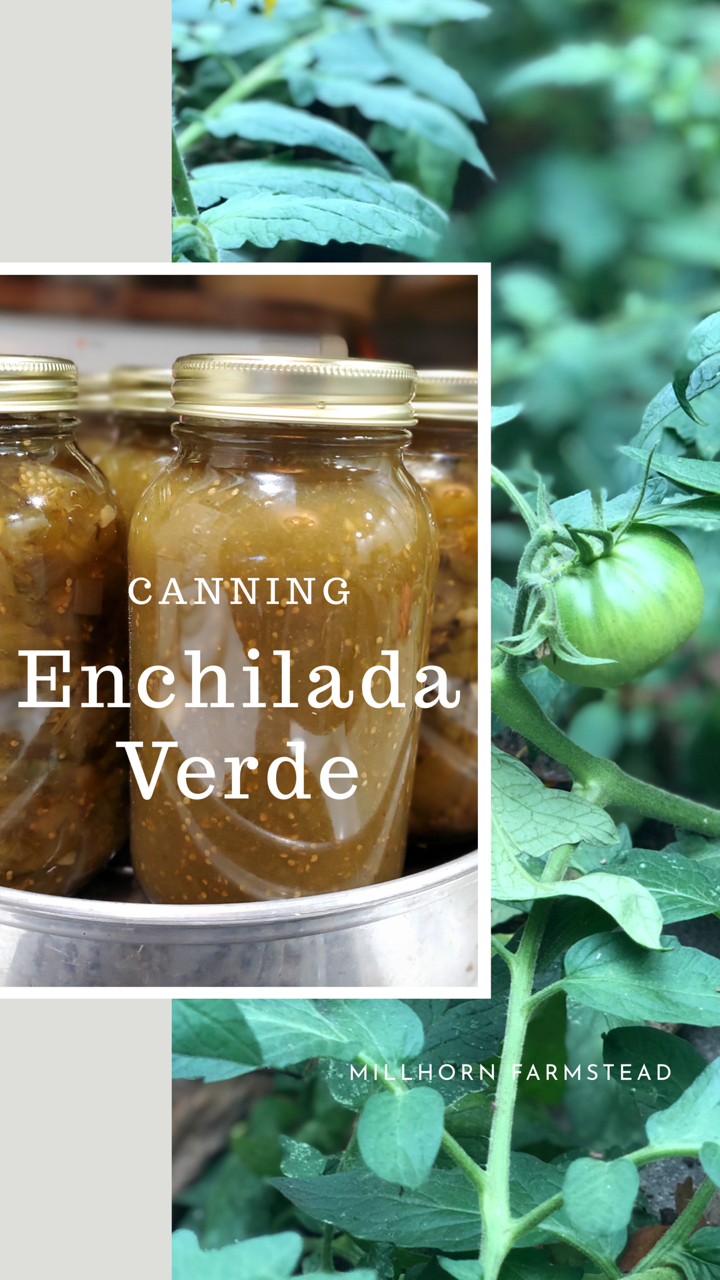
Green Tomato Enchilada Verde Sauce for Canning
Canning Green Tomato Enchilada Sauce When fall frost is around the corner, I inevitably end up…
-
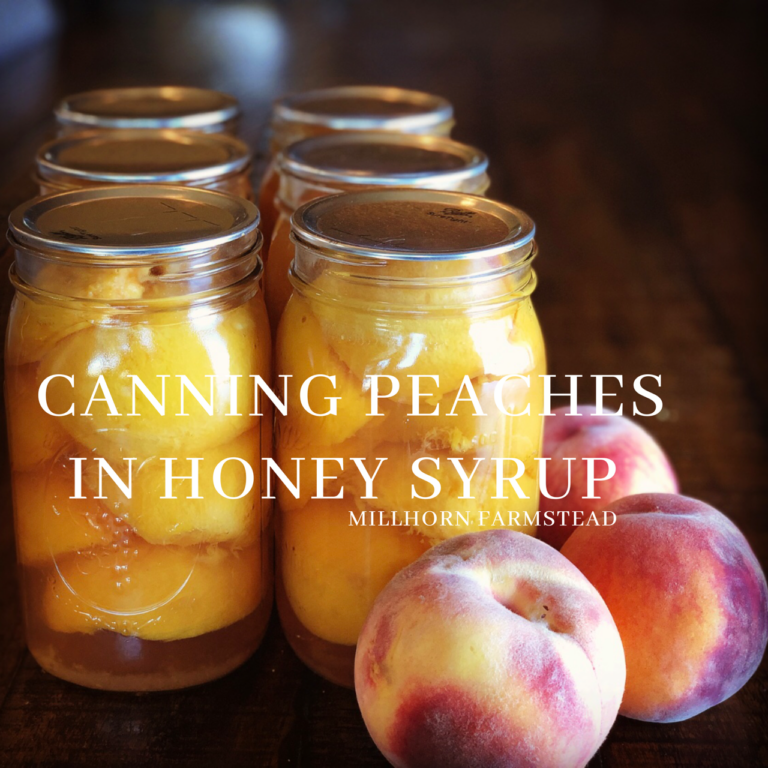
Canning Peaches in Honey
Canning peaches in honey is one of my favorite ways to preserve fresh peaches without using…
-
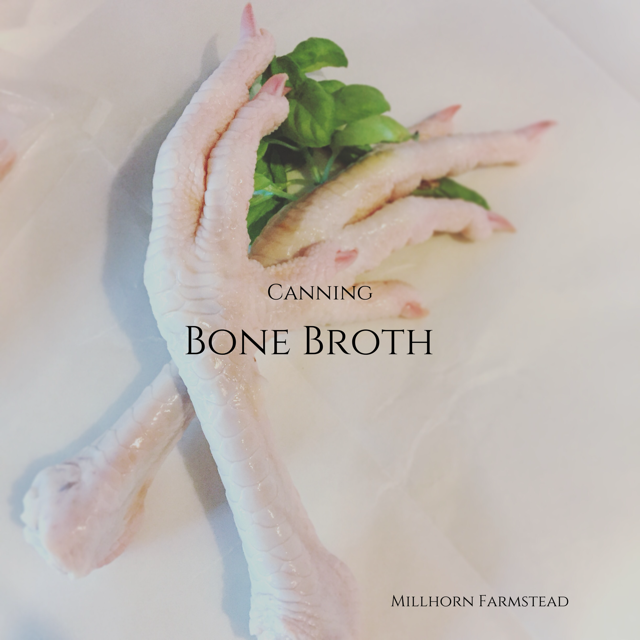
Canning Bone Broth: How to Pressure Can Homemade Bone Broth
Canning Nutritious Bone Broth Canning bone broth is one of my favorite ways to make good…






I have never canned before, so I’m sorry if this is a stupid question. After the water bath you say to take off the lid. Do you mean the ring or do you take the lid off too? Thank you. I want to try this.
yes I mean the ring. Never a stupid question 🙂
Is there a substitute for the fresh dill?
I’ve used dried before but it doesn’t have as big of bang as fresh dill.
Ive helped my grandmother can for years but recently Ive been reading alot of people removing the rings after boiling. Why are you removing the rings? Is it for the rust aspect? Thanks!
Leaving the ring on the jars during longterm storage can result in false seals. If the lid seal happens to break in storage, then the ring can actually “reseal” itself, but not enough to prevent bacteria growth. Therefor making your canned good very dangerous to consume because you wouldn’t have known that the seal had ever been broken.
I’ve been canning for many yrs. I never take the ring off,the jars until they are cooked,then i remove them n resuse them on new canner jars
When I remove the ring, the top comes off too, so now I’m confused about what to do.
Ali, make sure you are processing the jars for the required amount of time. Allow the jars to cool 24 hours prior to removing rings and storing.
Do you use the green part of the dill plant or the dill head?
I use both the head and the “weed” if thats what you mean.
Followed your recipe for the pickles and they turned out amazing!! I will never use a different recipe ever again. Thank you so much for sharing!
Awesome! Thank you so much.
Can I use regular cucumbers slicked for this recipe?
Yes, you could use regular cucumbers, the smaller ones will result in crunchier pickles however.
Do you have to use the onion’s?
No you don’t.
Thank you for this recipe! Its very straight forward and to the point. Super easy to follow! Can’t wait to try canning my own pickles at home. Love the garlic too! Thanks!
What is the difference between fresh dill spring and dill weed listed in ingredients?
One is the fresh sprig of a young plant and the other is the seed produced during the final maturity of the plant
Hi I don’t want to make so much. Can I half this recipe?
Absolutely, just make sure your brine ratio is correct.