
Pumpkin pie, pumpkin bread, pumpkin bars and roasted pumpkin soup are plenty of reasons to put pumpkin away while it is in season.
But canning pumpkin is different from canning applesauce or tomato products.
Pumpkin is a low-acid food, so it must be processed in a pressure canner. It cannot be safely processed in a boiling-water canner, and it cannot be canned as pumpkin puree.
The only tested method for home canning pumpkin is to cut the peeled flesh into 1-inch cubes, boil the cubes for two minutes and hot pack them into jars with cooking liquid. Once you open a jar, you can drain the pumpkin and puree it for pies, bread and other recipes.
The safety-critical instructions in this guide follow the current tested method published by the National Center for Home Food Preservation.
Can You Safely Can Pumpkin at Home?
Yes, pumpkin and winter squash can be safely canned at home when you use a pressure canner and follow a tested method.
Pumpkin is a low-acid vegetable. A boiling-water canner does not reach a high enough temperature to safely process low-acid foods. A pressure canner reaches the temperature needed to protect the food from the bacteria that can cause botulism.
This is also why a pressure cooker or electric multicooker should not be substituted for a pressure canner. Use equipment specifically designed for pressure canning and follow the manufacturer’s operating instructions for your particular canner.
If you are new to pressure canning, canning bone broth is another practical way to learn how to use your canner while building a useful pantry.
Why Can’t You Can Pumpkin Puree?
Pumpkin puree is too dense for home-canning experts to determine a single processing time that allows heat to penetrate the food evenly.
Purees can vary considerably in thickness. That makes it impossible to know whether the center of every jar reached and maintained a safe temperature during processing.
For that reason, do not can:
- Mashed pumpkin
- Pumpkin puree
- Pumpkin butter
- Pumpkin pie filling
- Pumpkin mixed with milk, butter, flour or other thickeners
Lemon juice does not make pumpkin puree safe for home canning. Neither does increasing the pressure or processing the jars longer.
The safe option is simple: can pumpkin in 1-inch cubes and puree it after opening the jar. If you want to preserve ready-to-use pumpkin puree or pumpkin butter, freeze it instead.
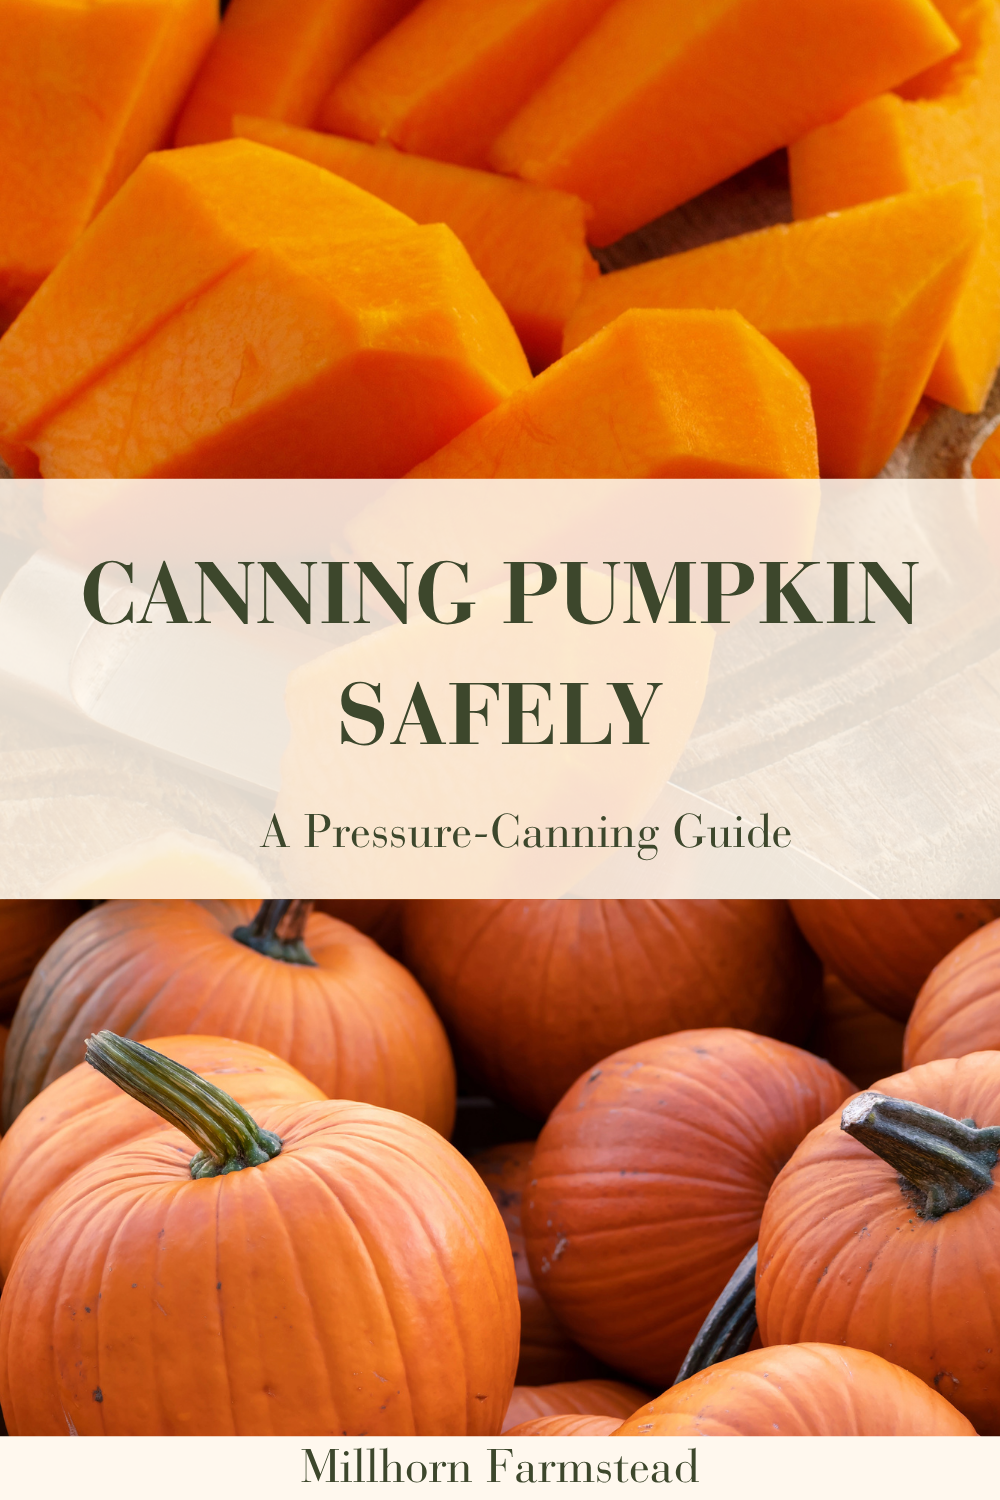
Pressure-Canned Pumpkin Cubes
Ingredients
Method
- Inspect the pressure canner and prepare it according to the manufacturer’s directions. Place the rack in the canner and add the specified amount of water.
- Wash the jars, lids and bands in hot soapy water. Rinse well and keep the jars hot until filling.
- Wash the pumpkin. Cut it open and remove the seeds and stringy pulp.
- Cut the pumpkin into manageable sections and remove the rind completely.
- Cut the peeled pumpkin flesh into uniform 1-inch cubes. Do not mash or puree it.
- Place the cubes in a large pot and cover them with water. Bring to a boil and boil for two minutes.
- Pack the hot pumpkin cubes into hot pint or quart jars.
- Cover the cubes with the hot cooking liquid, leaving 1 inch of headspace. Add canning salt if desired.
- Remove air bubbles and adjust the headspace with additional hot liquid if needed.
- Wipe the jar rims. Center the lids and apply the bands until fingertip tight.
- Place the jars on the rack in the pressure canner and secure the lid.
- With the vent open, heat the canner until steam escapes steadily. Vent continuously for 10 minutes.
- Close the petcock or place the weight on the vent. Bring the canner to the pressure required for your elevation.
- Process pints for 55 minutes or quarts for 90 minutes. Maintain the correct pressure for the entire processing period.
- Turn off the heat and allow the canner to depressurize naturally. Do not force-cool the canner.
- Open the canner according to its manufacturer’s directions, keeping the lid tilted away from your face.
- Remove the jars with a jar lifter and place them upright on a towel or cooling rack.
- Let the jars cool undisturbed for 12 to 24 hours. Check the seals, remove the bands, label the jars and store them in a cool, dark place.
Notes
- This method follows current tested guidance from the National Center for Home Food Preservation.
- A pressure canner is required. Do not process pumpkin in a boiling-water canner.
- Pumpkin must be canned in 1-inch cubes. Do not can mashed or pureed pumpkin.
- Do not add dairy products, flour, cornstarch, butter or other thickeners.
- If the canner drops below the required pressure, return it to pressure and restart the complete processing time.
- Drain and puree the pumpkin after opening the jar.
- Use within one year for the best quality.
Choosing Pumpkin and Winter Squash for Canning
Choose mature pumpkins with firm, stringless flesh and a hard rind. Small sugar pumpkins and pie pumpkins generally produce better results than large carving pumpkins, which can be watery and stringy.
You can use the same tested method for firm winter squash, including butternut squash.
Avoid pumpkins or squash with:
- Soft spots
- Mold
- Deep cuts
- Insect damage
- Immature or watery flesh
- Signs of decay
Pumpkin should be in good condition before it goes into the jar. Canning preserves food. It does not improve damaged or deteriorating produce.
If you are working through a large fall harvest, you may also want to keep my complete collection of canning and preserving recipes nearby.
Equipment Needed for Canning Pumpkin
Gather your equipment before you begin:
- Pressure canner with its rack
- Pint or quart canning jars
- New canning lids
- Screw bands
- Jar lifter
- Canning funnel
- Bubble-removal tool
- Headspace measuring tool
- Large pot
- Sharp knife
- Cutting board
- Sturdy vegetable peeler
- Clean kitchen towels
Inspect your canner before using it. Make sure the vent pipe is clear, the gasket is in good condition if your model uses one and a dial gauge has been checked according to the manufacturer’s recommendations.
How Much Pumpkin Do You Need?
The National Center for Home Food Preservation estimates that you will need:
- Approximately 10 pounds for a canner load of 9 pints
- Approximately 16 pounds for a canner load of 7 quarts
- An average of 2¼ pounds per quart
These are estimates. Your final yield will depend on the variety, the size of the seed cavity and how much flesh is lost during peeling and trimming.
How to Prepare Pumpkin for Canning
Wash the outside of the pumpkin thoroughly before cutting into it. Dirt and microorganisms on the rind can be transferred to the flesh by your knife.
Next, open the pumpkin and remove the seeds and stringy pulp. Divide it into manageable sections and remove the rind completely.
Once peeled, cut the flesh into uniform 1-inch cubes.
Do not make the cubes larger, mash them or partially puree the pumpkin. The tested processing time is is based specifically on pumpkin cut into 1-inch cubes.
Save suitable seeds for roasting, or compost the pulp and peelings. Once the pumpkin is cubed, continue with the canning process rather than leaving it at room temperature.
How to Pressure Can Pumpkin
1. Prepare the pressure canner
Place the rack in the bottom of the pressure canner. Add the amount of water specified by your canner manufacturer and begin warming it.
The jars must be elevated above the bottom of the canner on a proper rack.
2. Prepare the jars
Wash the jars, lids and bands in hot soapy water and rinse them well. Keep the jars hot until you are ready to fill them.
Prepare the lids according to the manufacturer’s current directions.
3. Boil the pumpkin cubes
Place the 1-inch pumpkin cubes in a large pot and cover them with water.
Bring the water to a boil and boil the cubes for two minutes. This is a hot-pack recipe, so do not place raw pumpkin cubes directly into the jars.
Keep the pumpkin and cooking liquid hot while filling the jars.
4. Fill the jars
Using a slotted spoon, pack the hot pumpkin cubes into hot pint or quart jars.
Ladle the hot cooking liquid over the pumpkin, leaving 1 inch of headspace. If desired, add ½ teaspoon of canning salt to each pint or 1 teaspoon to each quart. Salt is optional and is used for flavor, not safety.
5. Remove air bubbles
Slide a bubble-removal tool around the inside of each jar to release trapped air.
Recheck the headspace and add more hot cooking liquid if necessary. Maintain 1 inch of headspace.
6. Clean the rims and apply the lids
Wipe each jar rim with a clean, damp cloth. Center a lid over the jar and apply the screw band until it is fingertip tight.
Do not overtighten the band. Air must be able to escape from the jar during processing.
7. Load and vent the canner
Place the filled jars on the rack inside the pressure canner. Secure the canner lid according to the manufacturer’s instructions.
Heat the canner until a steady funnel of steam escapes through the open vent. Vent the canner continuously for 10 minutes.
After 10 full minutes, close the petcock or place the weight on the vent, depending on your canner.
8. Bring the canner to pressure
Allow the canner to reach the correct pressure for your elevation. Begin timing only after the canner reaches and maintains the required pressure.
Process:
- Pints for 55 minutes
- Quarts for 90 minutes
Maintain the correct pressure for the entire processing time. If the pressure drops below the required level, bring the canner back to pressure and restart the full processing time from the beginning.
Pressure-Canning Times and Elevation Adjustments
Dial-gauge pressure canner
| Elevation | Required pressure |
|---|---|
| 0–2,000 feet | 11 pounds |
| 2,001–4,000 feet | 12 pounds |
| 4,001–6,000 feet | 13 pounds |
| 6,001–8,000 feet | 14 pounds |
Weighted-gauge pressure canner
| Elevation | Required pressure |
|---|---|
| 0–1,000 feet | 10 pounds |
| Above 1,000 feet | 15 pounds |
These pressures apply to both pints and quarts. The processing time changes according to jar size, but the required pressure is determined by your canner type and elevation.
Find your actual elevation before canning. Do not guess based only on the elevation of the nearest town.
Cooling the Pressure Canner
When the full processing time is complete, turn off the heat.
Allow the canner to cool and depressurize naturally. Do not remove the weight early, open the vent, run water over the canner or attempt to force it to cool.
Once the canner is fully depressurized, follow the manufacturer’s directions for opening it safely. Remove the lid carefully, tilting it away from your face so the steam escapes in the opposite direction.
Use a jar lifter to move the jars onto a towel or cooling rack. Keep them upright and leave space between them.
Do not tighten the bands or press the centers of the lids. Let the jars cool undisturbed for 12 to 24 hours.
Checking the Seals and Storing Canned Pumpkin
After the jars have cooled, check every seal. The center of a sealed lid should be concave and should not flex when pressed.
Remove the bands, wash the jars if necessary and label them with the contents and date. Store sealed jars in a cool, dark, dry place.
For the best quality, use your home-canned pumpkin within one year.
If a jar does not seal, refrigerate it and use it promptly, freeze the contents in a freezer-safe container or reprocess it within 24 hours using a new lid and the complete processing time.
Never taste food from a jar that is leaking, bulging, spurting liquid, moldy or otherwise suspicious.
How to Use Home-Canned Pumpkin
Home-canned pumpkin will not have the same thick consistency as commercially canned pumpkin puree because it is stored as cubes in liquid.
When you are ready to use it, open the jar and drain the pumpkin thoroughly. Mash it with a fork, potato masher or food processor. If it seems watery, allow it to drain longer before adding it to a recipe.
Use it in:
- Pumpkin pie
- Pumpkin bread
- Muffins
- Pancakes
- Pumpkin bars
- Soups and stews
- Pasta sauces
- Smoothies
For a savory meal, use the cubes in my roasted pumpkin soup with garlic sage butter. The soup also uses chicken stock, making it a good companion recipe for a pantry stocked with home-canned bone broth.
Frequently Asked Questions About Canning Pumpkin
Can I use a water-bath canner for pumpkin?
No. Pumpkin is a low-acid food and must be processed in a pressure canner. A boiling-water canner does not reach the temperature needed to safely process it.
Can I can pumpkin puree?
No. There is no tested home-canning process for mashed or pureed pumpkin. Can 1-inch cubes and puree them after opening the jar.
Can I can pumpkin butter?
No tested home-canning method is available for pumpkin butter. Refrigerate or freeze it instead.
Can I can pumpkin pie filling?
Do not can pumpkin pie filling. Ingredients such as dairy products, eggs, flour and other thickeners are not safe additions to this canning recipe. Can plain pumpkin cubes and prepare the pie filling after opening the jar.
Can I add spices to the jars?
This tested method is for plain pumpkin or winter squash cubes in water, with optional salt. Add cinnamon, cloves, ginger, sugar, butter or savory seasonings after opening the jar.
Do I have to peel the pumpkin?
Yes. Wash, seed and completely peel the pumpkin before cutting the flesh into 1-inch cubes.
Can I use butternut squash?
Yes. Mature, firm-fleshed winter squash can be processed using the same tested cubed-pumpkin instructions.
Why did my pumpkin darken after canning?
Some color change can happen during processing and storage. Color alone does not necessarily mean the food is spoiled. However, discard any jar that is unsealed, leaking, bulging, moldy or shows other signs of spoilage.
Can I shorten the processing time if I increase the pressure?
No. Higher pressure does not allow you to shorten the tested processing time. Follow both the pressure required for your elevation and the full processing time for your jar size.
One Last Canning Note
Canning pumpkin is not difficult, but this is not a recipe where I improvise.
Use a pressure canner. Cut the pumpkin into 1-inch cubes. Follow the correct processing time and adjust the pressure for your elevation. Save the pureeing, seasoning and recipe-making for after you open the jar.
That gives you safe, versatile pumpkin on the pantry shelf without trying to make one jar do too much.
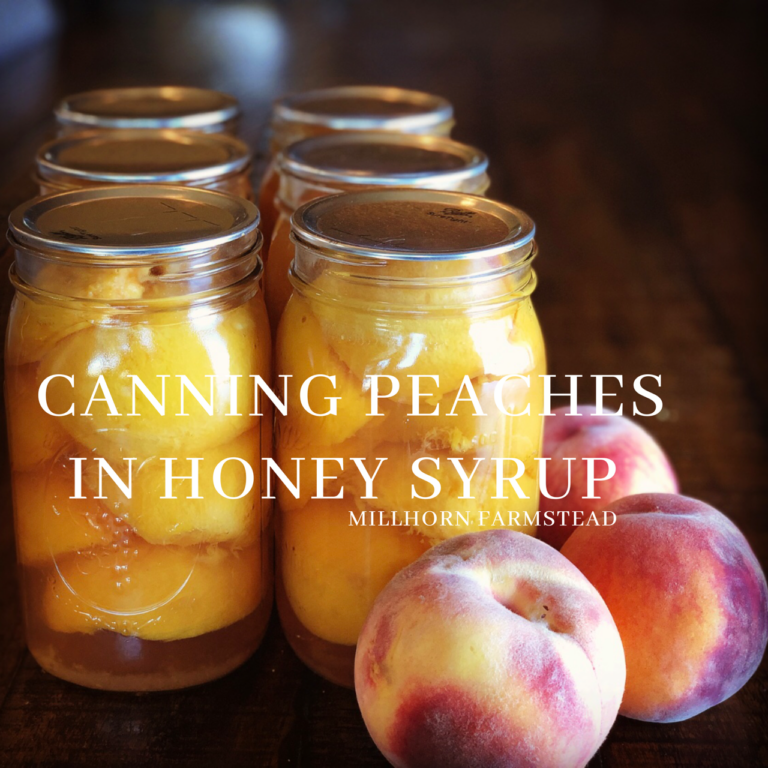
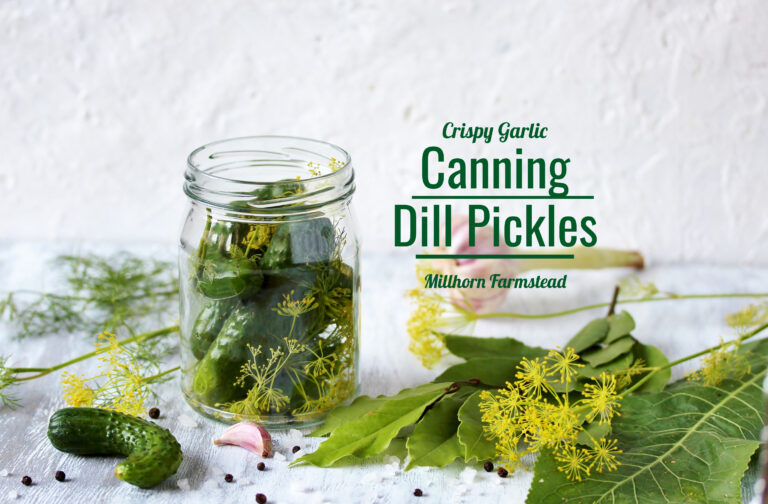
If you are filling the pantry for winter, try canning peaches in honey, canning pickled beets and green tomato enchilada verde sauce next.
More Canning Recipes for a Well-Stocked Pantry
-
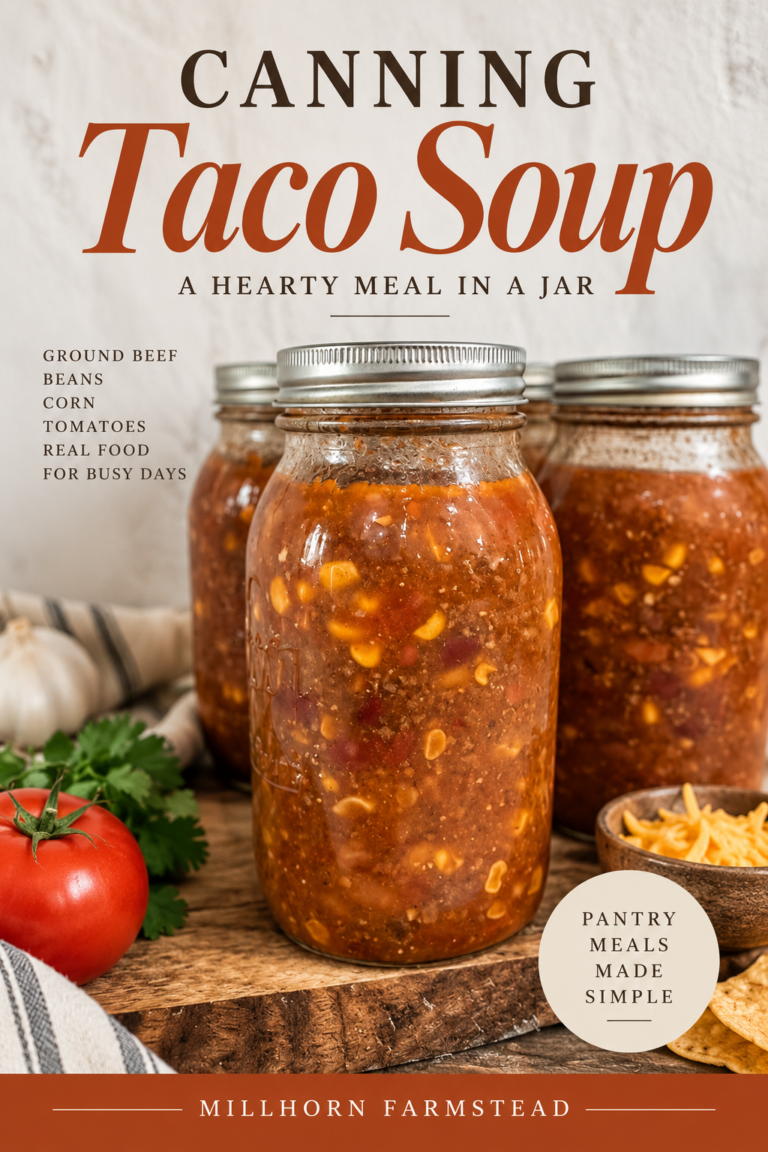
Canning Taco Soup: A Hearty Beef and Bean Meal in a Jar
There comes a point every canning season when I stop wanting to put individual ingredients on…
-
Canning Sloppy Joes: An Easy Meal in a Jar Recipe
Canning sloppy joes is one of my favorite ways to turn ground beef and tomatoes into…
-
Homemade Bloody Mary Mix | Canning Recipe
Have you ever tasted a Bloody Mary mix that actually tastes like real tomatoes? Not the…
-
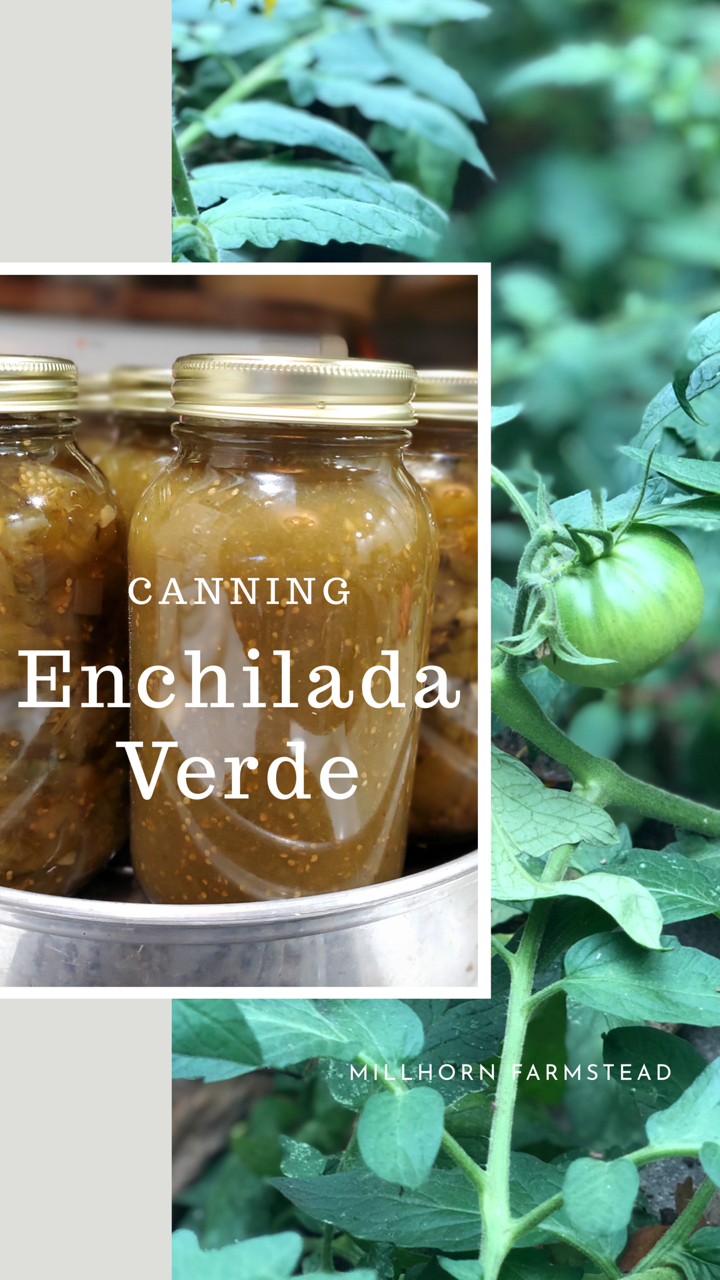
Green Tomato Enchilada Verde Sauce for Canning
Canning Green Tomato Enchilada Sauce When fall frost is around the corner, I inevitably end up…
-
Canning Peaches in Honey
Canning peaches in honey is one of my favorite ways to preserve fresh peaches without using…
-
Dill Pickle Canning Recipe | Crisp Garlic Dill Pickles
There are a few things I make every summer without fail, and this dill pickle canning…






Can this be done with large squash too? I bought a bunch of cinderella, australian and a couple other types of pumpkin, but bought a long naples squash that is 3 ft long and weighs about 30 lbs….. hoping to can the same way….. any input would be greatly appreciated!
Wow. I LOVE Naples squash. They are great for canning and an excellent keeper. According to the Ball preserving guide, this recipe works for all variety of winter squash. Happy Canning!
Ok, just found out what rings are. Thank you.