The act of making homemade, naturally cultured butter today is a lost art. When I tell people that I make my own butter, they scrunch up there face and say “I would love to do that but I don’t have the time!” Sure you do! Oh I know, you envision me standing outside next to my cow in a long cotton hand sewn dress and a linen apron with sweat beating off my face, hand churning butter in a large wooden vat, right? Seriously?! Ain’t nobody got time for that! As a matter of fact, making homemade butter couldn’t be easier.
Now, I have made butter before in my KitchenAid countertop mixer and let me tell you, it is messy! And I have made butter with a hand mixer and it takes forever. However, a food processor or high-powered blender such as a Ninja is quick, easy and clean.
If you’re on the hunt for grass fed butter, then making your own is a no-brainer. And at less than 20 minutes you can have yourself delicious grass-fed, no crap added butter!
Here’s what you need;
RAW GRASS-FED BUTTER
1 quart grass fed raw cream
1/4 teaspoon salt (optional)
Food processor or Blender
8-12 hours before you’re ready to make butter, set your cream on the countertop with the lid off. This will allow the cream to come to room temperature and ripen or “culture”.
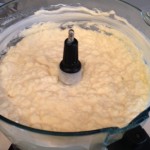
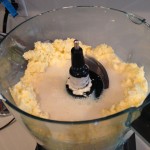
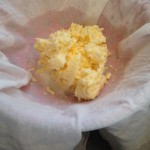
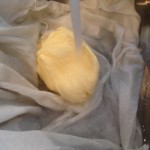
Pour the raw cream into your food processor or blender, secure the lid and blend on medium. In my ninja this process takes approximately 13 minutes. You’ll notice the butter going through different stages. First, you have raw cream, then you’ll have a light fluffy whipped cream, then the cream will begin to separate and look almost gritty. Your final stage will be butter. Once your butter is ready, place a colander over a bowl and line the colander with several layers of cheesecloth or a flour sack. Slowly pour the butter and buttermilk into the lined colander, allowing the buttermilk to drain into the bowl underneath. Gather out the cheesecloth and squeeze the extra buttermilk out of the butter. Place your bowl of buttermilk aside and carefully rinse and knead your butter with cold water. This allows the excess buttermilk to be released out of the butter. You want to continue to knead and rinse the butter until you no longer see any buttermilk come out. Cleansing it from any buttermilk will maintain your butter keeping it from going rancid. This process may take 5-10 minutes, depending on how fast and hard you knead. The more you knead it, the harder the butter will become.
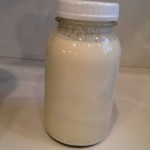
- Grass fed Raw cream
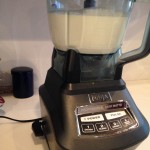
- Love my Ninja
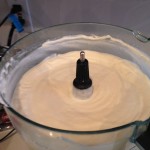
- More whipped Cream
- Seperation begins
- BUTTER!
- Draining off the buttermilk
- Rinsing the butter
SAVE THAT BUTTERMILK..
If you want to have some fresh cultured buttermilk to cook and bake with, make you save the “buttermilk”. This is your “starter” for future buttermilks. It’s kind of like a sour dough starter, once you have a developed one, all you need to do is “feed it” and you’ll have a continuous supply.
Cultured Buttermilk
Ingredients
- 1 cup cultured "buttermilk" left over from butter making
- 3 cups raw room temperature milk
Instructions
- In a 1 quart jar, combine the 1 cup cultured "buttermilk" with the 3 cups fresh raw milk. Shake and Cover.
- Allow the the milk to sit in out of direct sunlight at room temperature for a 12-24 hours to culture..
- Once the culturing period is up, refrigerate and its ready to use.
- * Be sure to repeat steps 1-3 for continuous cultured raw buttermilk. As long as it does not take on a funky smell or grow mold, you are safe to continue to culture it.
NOTE ** If you are planning on baking with your butter, leave some buttermilk in it. Store bought butter has moisture added into it and/or left into it, making it soft. Most modern-day recipes anticipate you using store-bought butter; take this into account when baking with homemade butter, as you may need to add a bit more moisture to your recipe. Tip; Make a few batches special for just baking. Roll it up parchment paper, label “baking butter” and freeze until ready to use.
NOTE ** Pasteurized cream will not culture naturally, it will curdle instead. If you’re using pasteurized cream and want cultured butter & buttermilk, then you will need to add cultures to ripen the cream. You can buy them HERE! If you just want to make some delish butter, then eliminate the “ripening/culture” step. By eliminating the ripening, you will be making sweet cream butter. And ya can’t go wrong there!!
Ok, technically not straight from the udder, but fridge to butter just doesn’t jive as well.
Products and books I love. Affiliate links
For more recipes on farm fresh milk…
In order for me to continue my blogging hobby, I often post affiliate links. By making a purchase through these links, I receive a tiny percentage that helps fund this page. Thank you!



To continue your cultured buttermilk, do you have to continue to add buttermilk or just milk when you only have about a cup left? Thank you for taking the time to make this post! 🙂
Continue to add buttermilk to it.
* Be sure to repeat steps 1-3 for continuous cultured raw buttermilk.
1. In a 1 quart jar, combine the 1 cup cultured “buttermilk” with the 3 cups fresh raw milk. Shake and Cover.
Hi thanks so much for this butter recipe. I live in iowa and can’t find raw cows milk. It says it illegal to sell raw unpasteurized cows milk to the public. Where do I buy the raw milk?
Thanks
Hi there.
Look for a raw milk farm at http://www.realmilk.com