How to Make Homemade Raw Butter & Cultured Buttermilk
Making homemade, naturally cultured butter is a kitchen skill that has quietly faded from everyday life.
When I tell people that I make my own butter at home, the reaction is almost always the same. They wrinkle their nose a little and say, “I’d love to do that, but I don’t have the time.”
This post may contain affiliate links. That means if you click through and make a purchase, I may earn a small commission at no additional cost to you. I only share tools and products that I personally use and trust in my own homestead kitchen.
But the truth is, you probably do.
Most people picture old-fashioned butter making as a slow, exhausting chore—standing beside a wooden churn in a long cotton dress, working for hours just to produce a small batch of butter.
Thankfully, that’s not how most of us make butter today.
In reality, making homemade butter is surprisingly simple and takes only a few minutes with the right kitchen tools.
Over the years I’ve experimented with several different methods. I’ve made butter in my KitchenAid stand mixer, and while it works, it can be quite messy. I’ve also tried using a hand mixer, which gets the job done but takes longer than I’d like.
The easiest method by far is using a food processor or a high-powered blender, such as a Ninja. It’s quick, clean, and turns fresh cream into rich homemade butter in just minutes.
If you’re new to working with raw milk, start here → Start Here
There are plenty of butter options available at the grocery store today, but making butter at home offers a few advantages that are hard to beat.
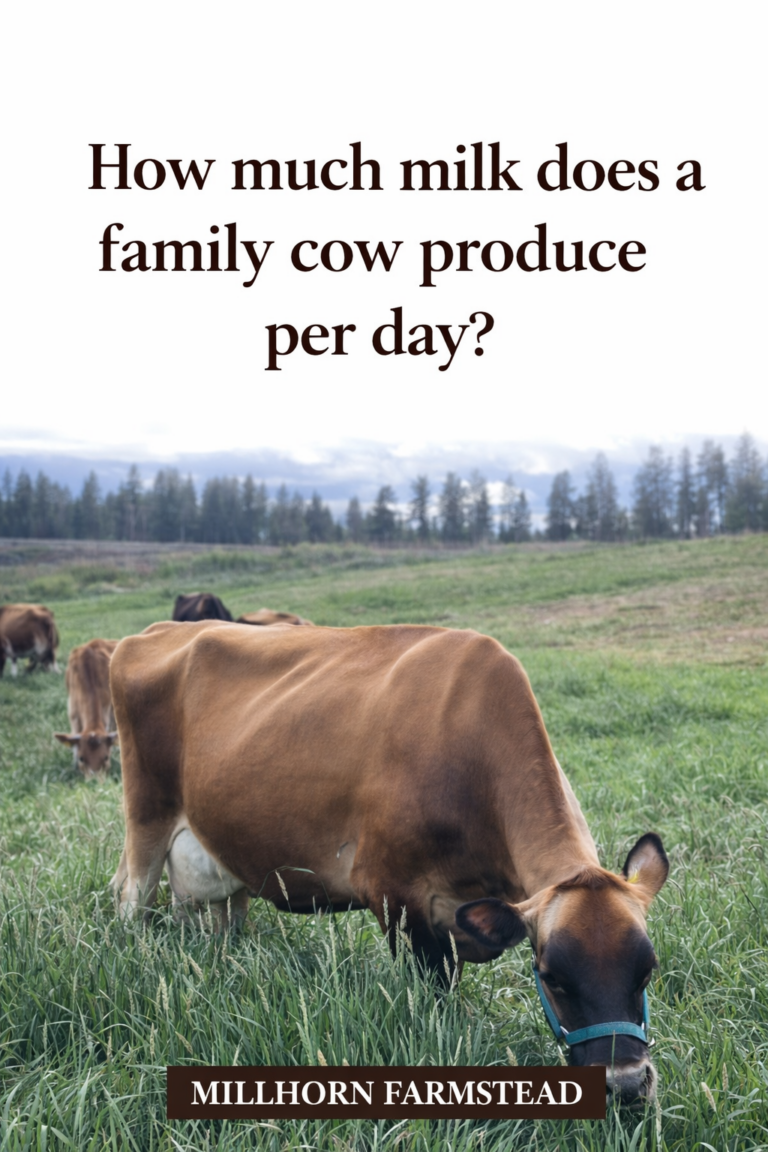
First, homemade butter allows you to control the quality of the cream you are using. If you have access to fresh cream from grass-fed cows or a local dairy, the flavor is noticeably richer and more traditional than most store-bought butter.
Second, the process itself is incredibly simple. With modern kitchen tools, cream can turn into butter in just a few minutes.
Over the years I’ve found that the easiest way to make butter is with a food processor or high-powered blender. Both methods work quickly and keep the process clean and simple. If you’re looking for a good option, I use one similar to THIS blender, which handles butter, sauces, and kitchen prep without any trouble.
If you’re on the hunt for grass fed butter, then making your own is a no-brainer. And at less than 20 minutes you can have yourself delicious grass-fed, no crap added butter!
Here’s what you need;
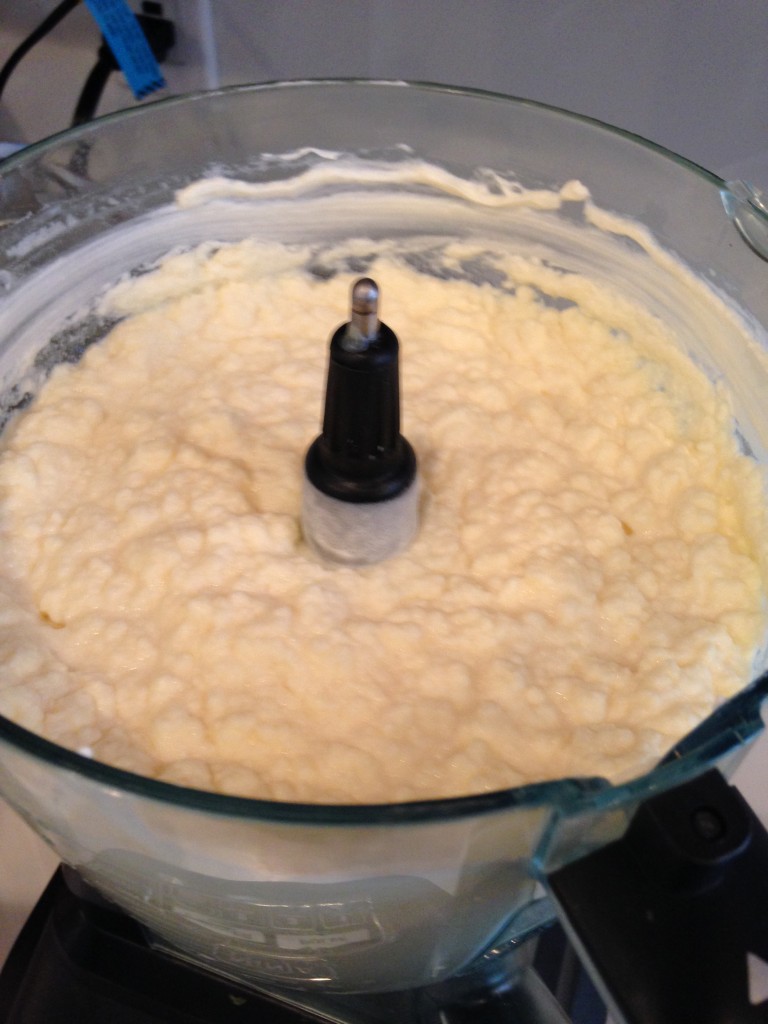
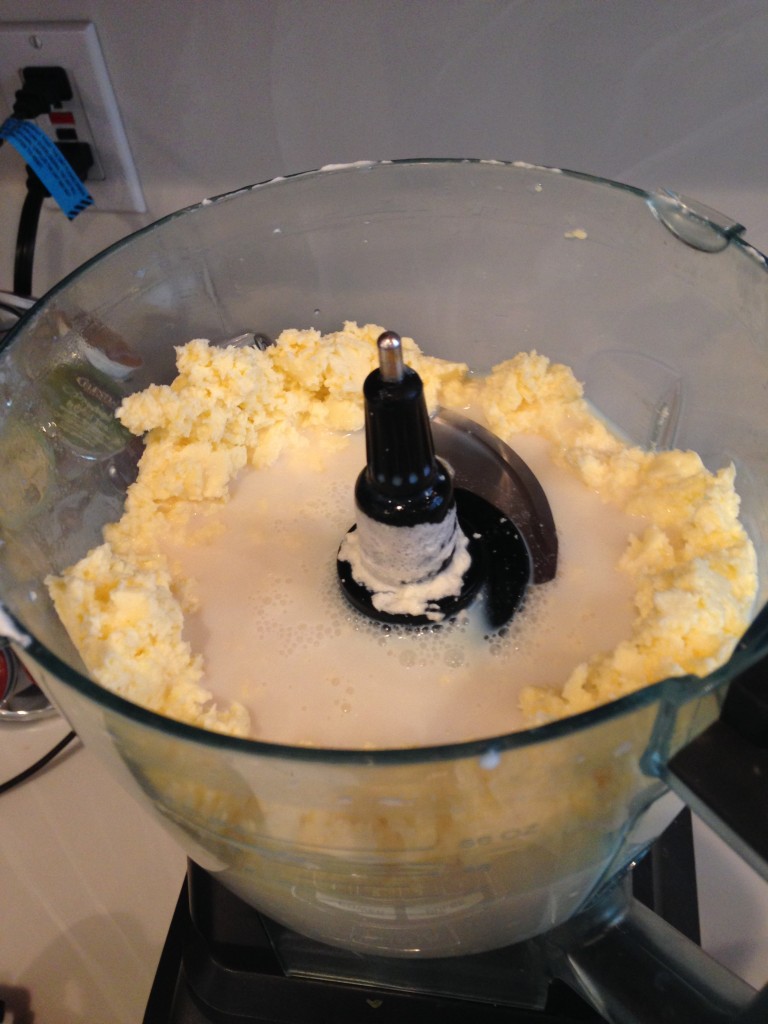
Seperation begins
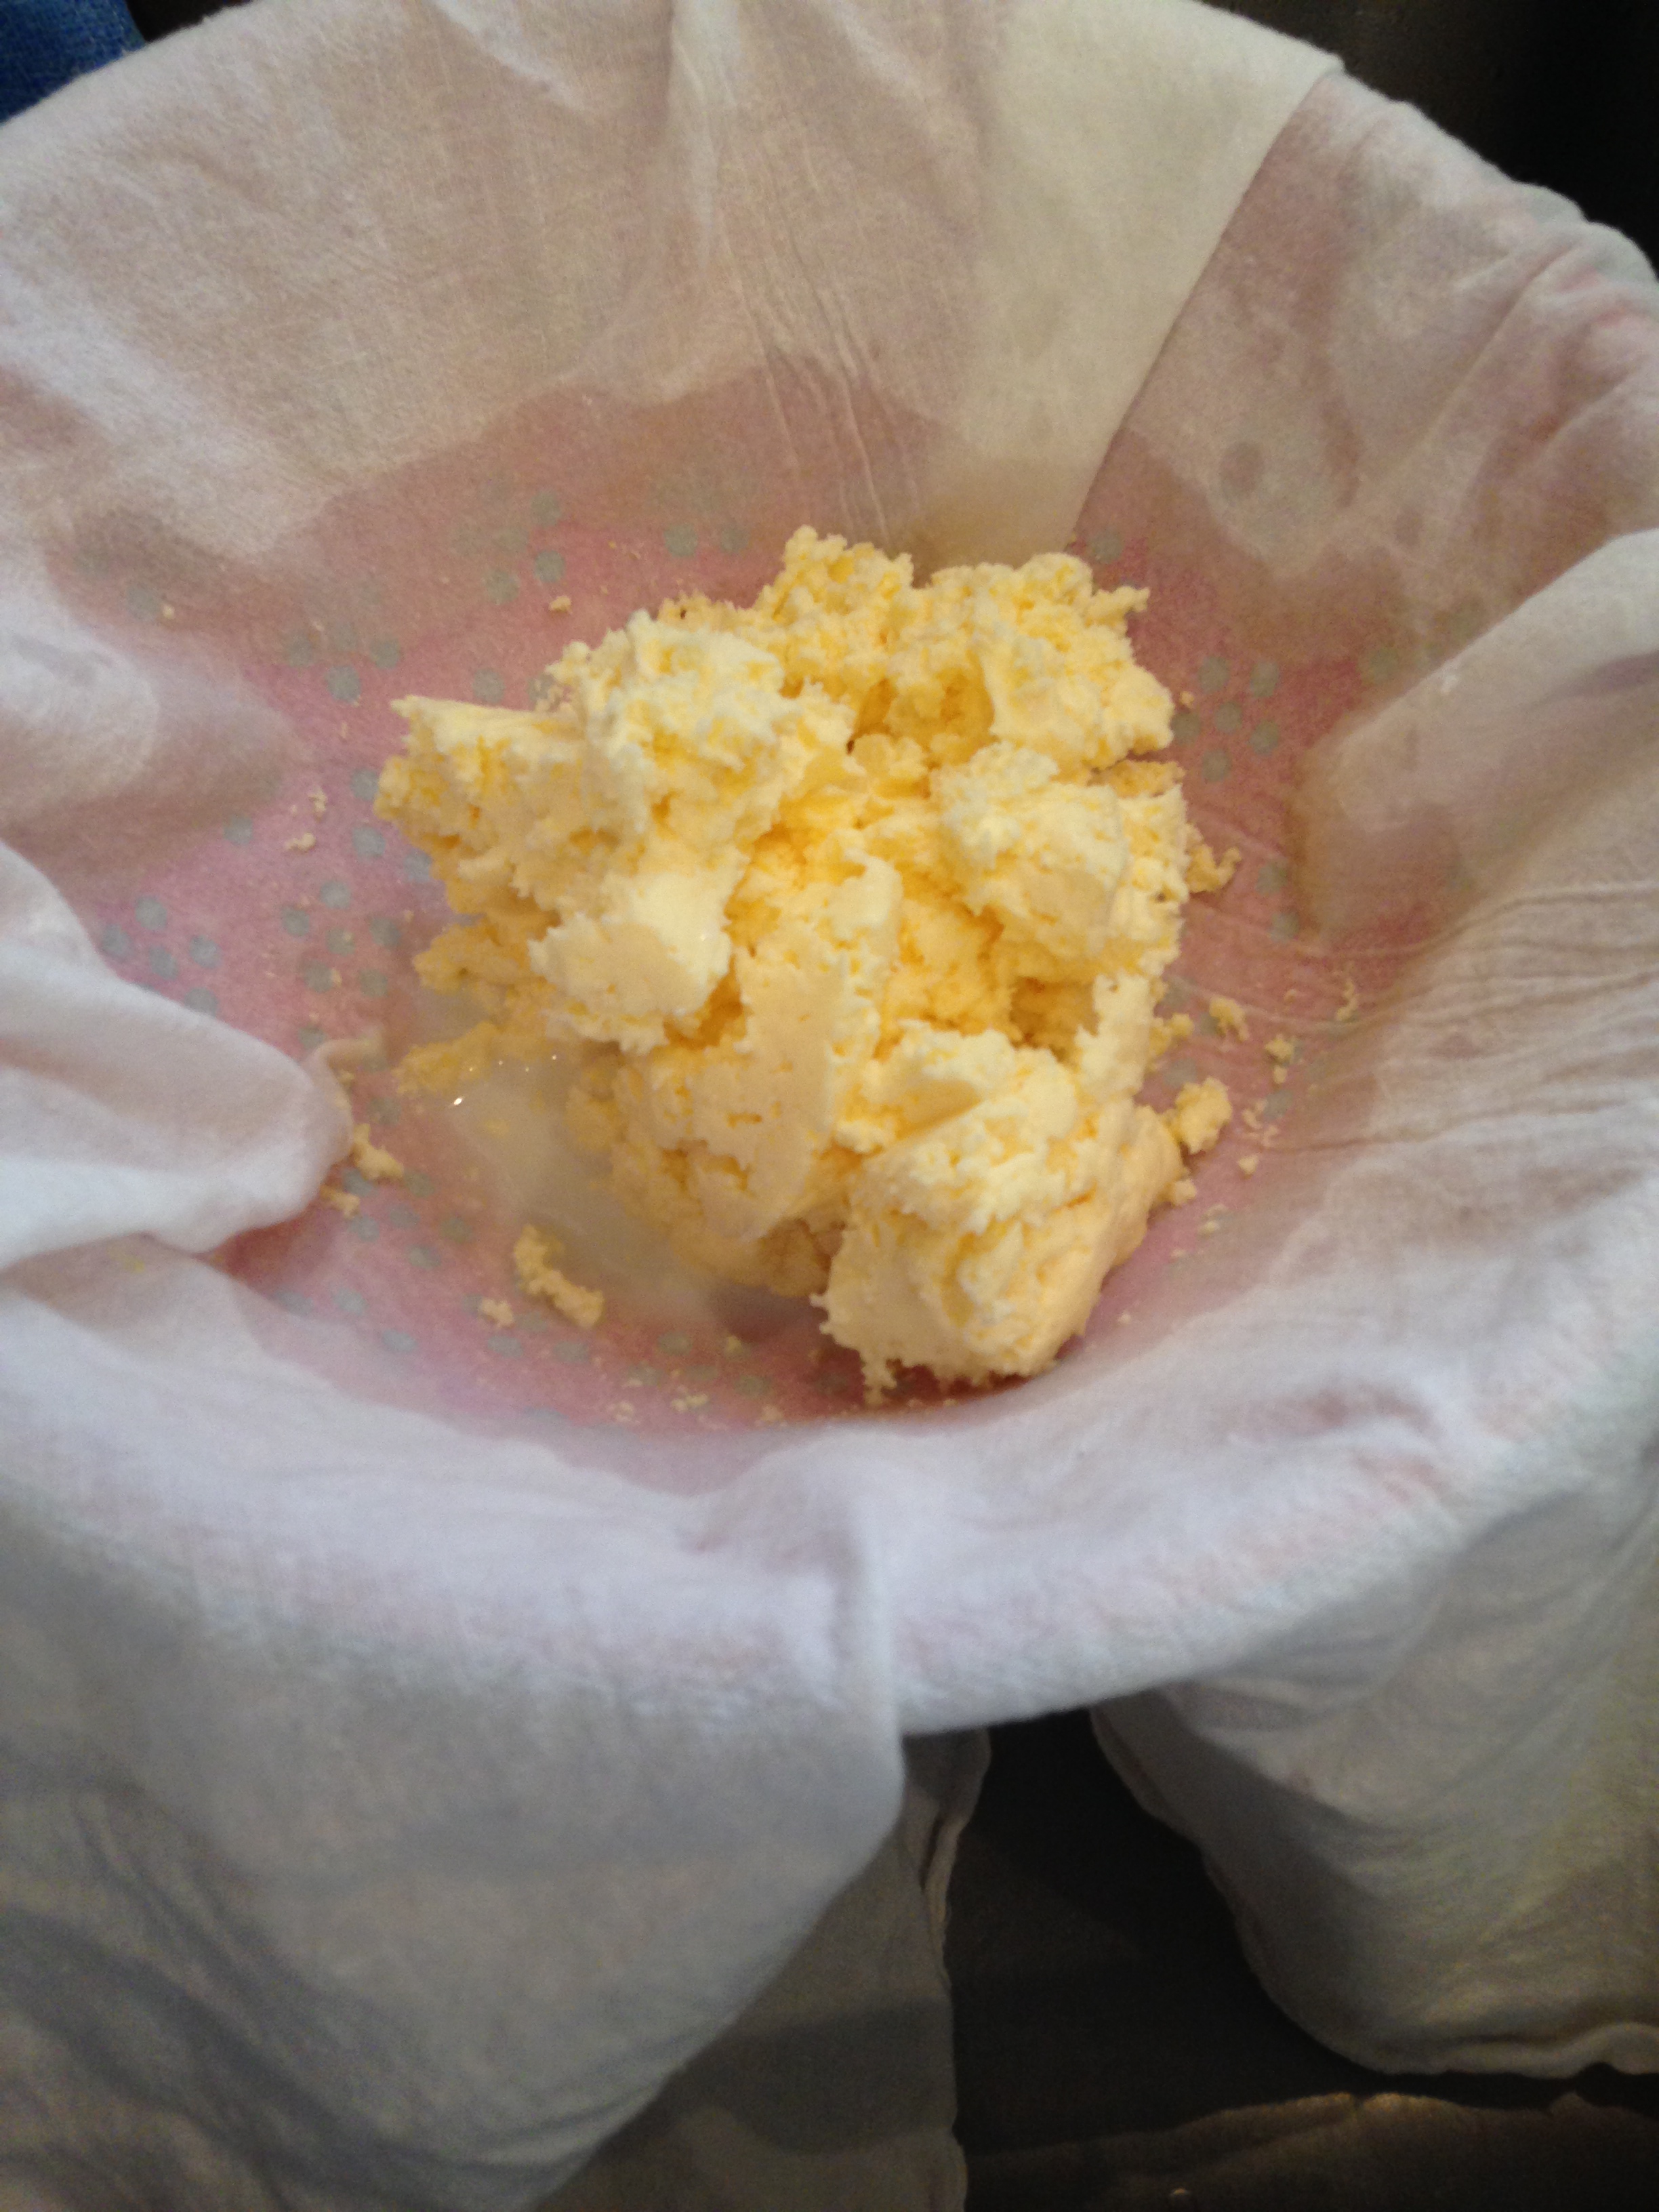
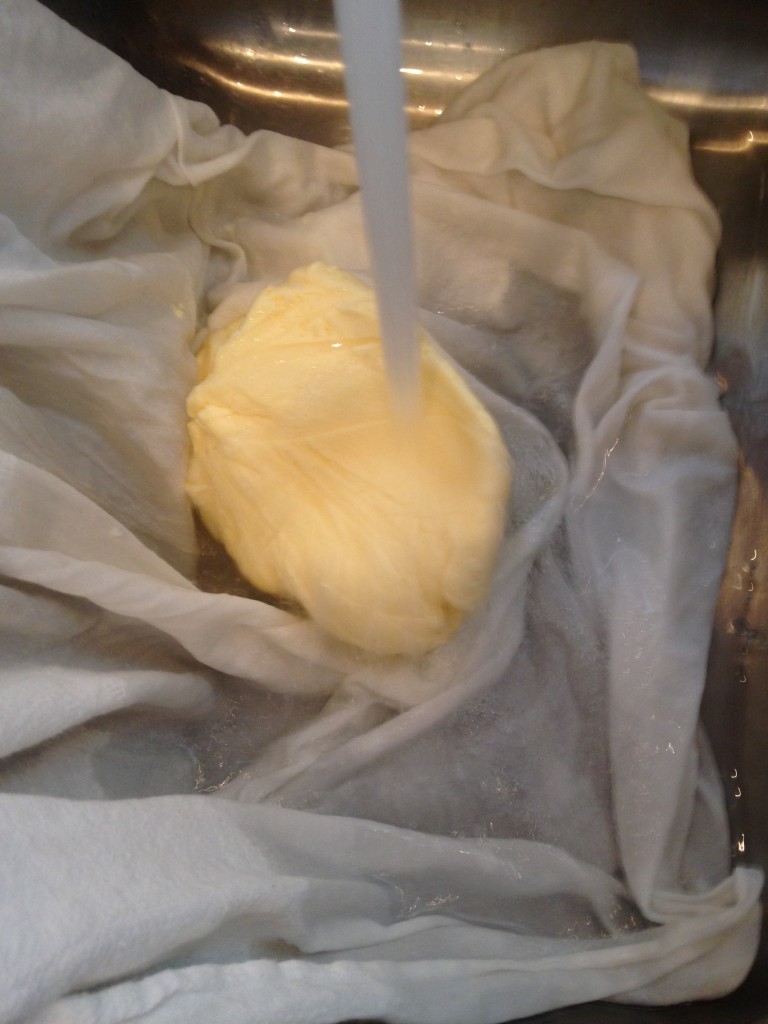
BUTTER!Rinsing the butter
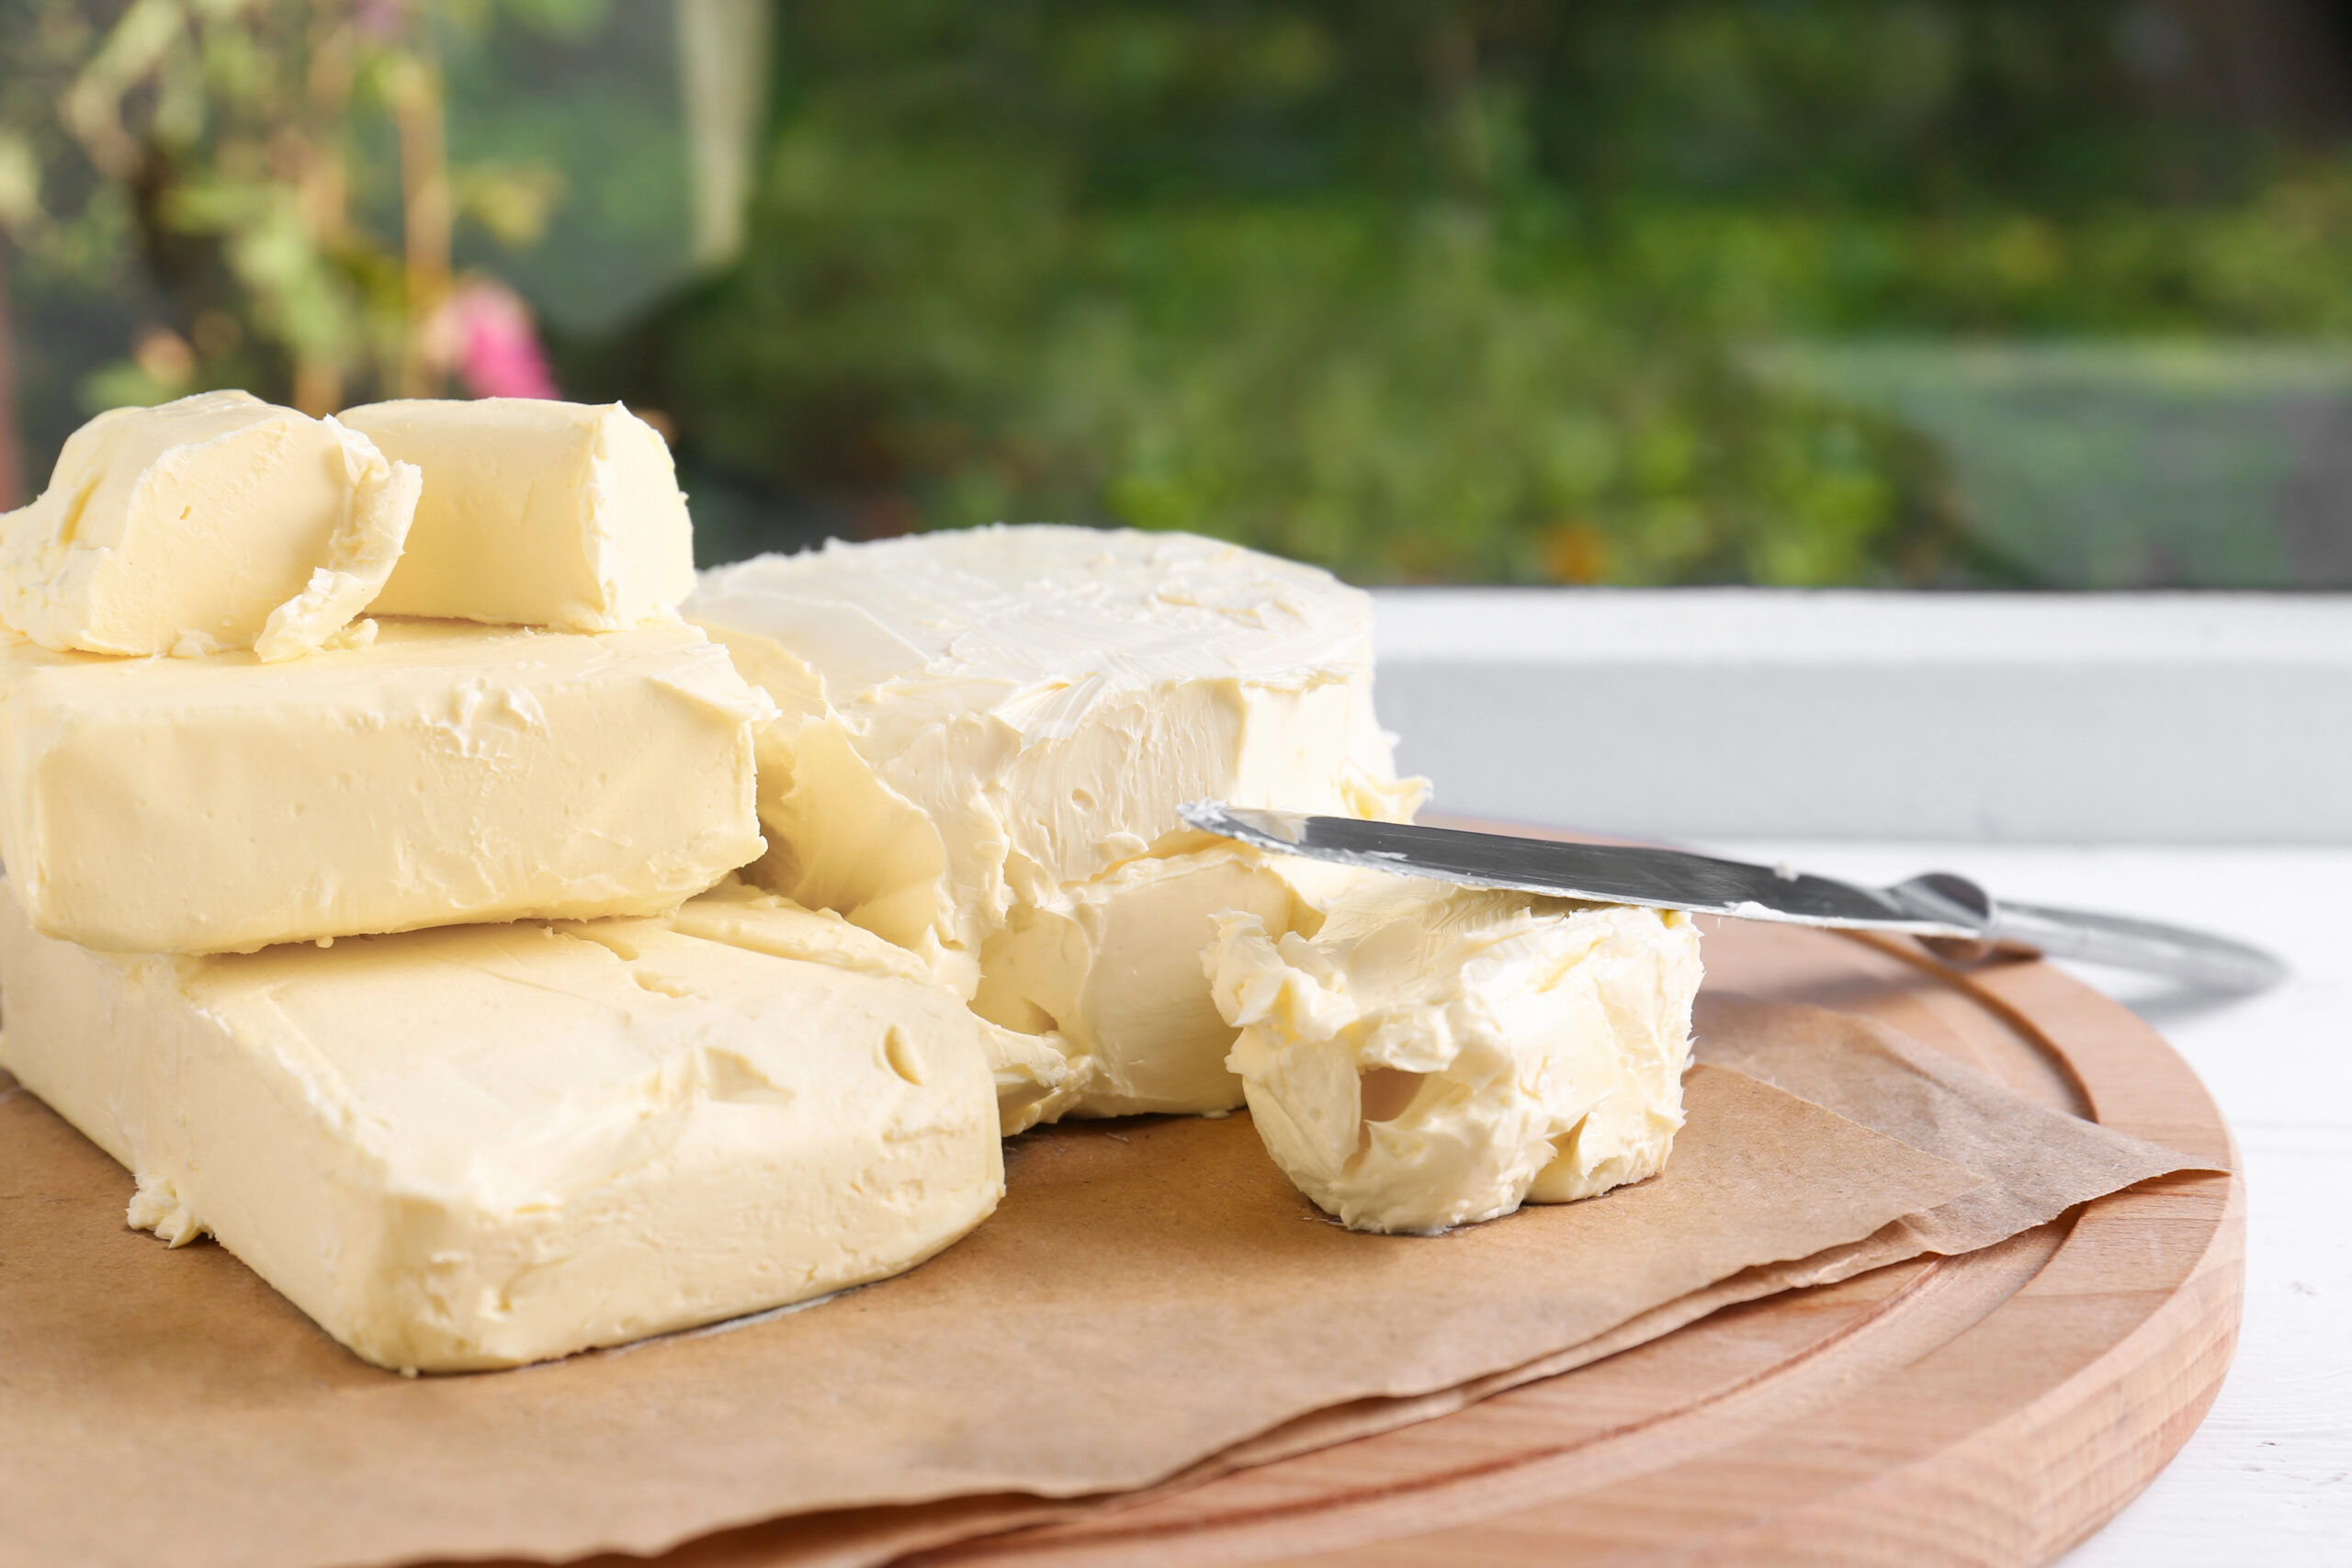
RAW GRASS-FED BUTTER
1 quart grass fed raw cream 1/4 teaspoon salt (optional) Food processor or Blender
8-12 hours before you’re ready to make butter, set your cream on the countertop with the lid off. This will allow the cream to come to room temperature and ripen or “culture”.Pour the raw cream into your food processor or blender and secure the lid. Blend on medium speed. In my Ninja blender, this process usually takes about 13 minutes.
As the cream mixes, you will notice it move through several stages.
First, you will have liquid cream. Next, it will thicken into light, fluffy whipped cream. After a few more minutes, the mixture will begin to separate and look slightly gritty.
Finally, the cream will separate completely and form homemade butter and buttermilk.
Once the butter has formed, place a colander over a bowl and line the colander with several layers of cheesecloth or a flour sack towel.
Slowly pour the butter and buttermilk into the lined colander, allowing the fresh buttermilk to drain into the bowl underneath.
Gather the cheesecloth and gently squeeze the butter to remove any remaining buttermilk. Set the bowl of buttermilk aside.
Next, place the butter in a clean bowl and rinse it with cold water while gently kneading it. This helps release any remaining buttermilk from the butter.
Continue rinsing and kneading the butter until you no longer see buttermilk coming out. Removing the excess buttermilk is important because it helps extend the shelf life of homemade butter and prevents it from turning rancid.
This process usually takes 5–10 minutes, depending on how firmly you knead the butter. The more you knead it, the firmer the butter will become.
Why Homemade Butter Changes Color
One of the first things people notice when they start making butter at home is that the color can vary quite a bit.
Sometimes the butter is pale and creamy. Other times it has a deep golden color that almost glows. This difference comes down to the quality of the cream and what the cows are eating.
When cows are eating fresh pasture and green forage, their milk contains higher levels of beta carotene, a natural pigment found in grasses and plants. Beta carotene is what gives grass-fed butter its rich golden color. Cream from cows eating mostly dry hay or grain tends to produce butter that is lighter in color. Beyond appearance, the quality of the cream can also influence the nutrient value of the butter.
Butter made from high-quality grass-fed cream often contains higher levels of:
vitamin A
vitamin K2
omega-3 fatty acids
beneficial fatty acids like CLA (conjugated linoleic acid)
These nutrients are naturally present in milk fat and tend to be higher when cows are raised on pasture.
That’s one of the reasons many homesteaders and small dairies prefer using grass-fed cream strained from our A2 cows when making butter at home. To learn more about the difference between A1 and A2 milk, and why some families seek out A2 dairy products, you can read more here: Importance of A2 Milk
Not only does it produce beautiful golden butter, but the flavor is also richer and more complex.
If you would like to have fresh cultured buttermilk for cooking and baking, be sure to save the buttermilk left behind when making your homemade butter.
This liquid is the beginning of a buttermilk starter for future batches. It works a bit like a sourdough starter. Once you have an active culture, you can continue feeding it with fresh milk and maintain a steady supply of buttermilk for your kitchen.
Fresh buttermilk works beautifully in recipes like biscuits, pancakes, breads, and baked goods.
A Note About Baking with Homemade Butter
If you plan to use your homemade butter for baking, it can be helpful to leave a small amount of buttermilk in the butter. Many store-bought butters contain added moisture or retain some water during processing. Because of this, many modern baking recipes are written with store-bought butter in mind. Homemade butter is often slightly drier after it has been fully washed, which means you may occasionally need to add a little extra moisture to your recipe when baking.
Tip: Make a few batches of butter specifically for baking. Roll the butter in parchment paper, label it “baking butter,” and store it in the freezer until you need it.
Pasteurized cream will not naturally culture the way raw cream does. Instead of developing beneficial cultures, it will typically curdle.
If you are using pasteurized cream and want to make cultured butter and cultured buttermilk, you will need to add a starter culture to ripen the cream first. You can purchase butter culturesHERE.
If you simply want to make delicious homemade butter, you can skip the ripening step entirely. When you do this, you will be making sweet cream butter, which is the most common type of butter found in grocery stores.
And honestly, you really can’t go wrong with that.
Join the Farm
Join for from-scratch recipes and simple kitchen systems that actually work in real life.
To continue your cultured buttermilk, do you have to continue to add buttermilk or just milk when you only have about a cup left? Thank you for taking the time to make this post! 🙂
Hi thanks so much for this butter recipe. I live in iowa and can’t find raw cows milk. It says it illegal to sell raw unpasteurized cows milk to the public. Where do I buy the raw milk?


To continue your cultured buttermilk, do you have to continue to add buttermilk or just milk when you only have about a cup left? Thank you for taking the time to make this post! 🙂
Continue to add buttermilk to it.
* Be sure to repeat steps 1-3 for continuous cultured raw buttermilk.
1. In a 1 quart jar, combine the 1 cup cultured “buttermilk” with the 3 cups fresh raw milk. Shake and Cover.
Hi thanks so much for this butter recipe. I live in iowa and can’t find raw cows milk. It says it illegal to sell raw unpasteurized cows milk to the public. Where do I buy the raw milk?
Thanks
Hi there.
Look for a raw milk farm at http://www.realmilk.com
How do you make the buttermilk starter? I dont see that part. Do you buy starter?