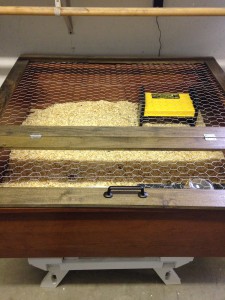
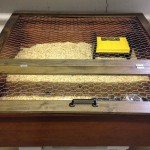
The chickens are hatching and it’s time to prepare their brooder. Most years I put the chickens in a 50 gallon galvanized horse trough But this year I wanted something more permanent and something that I can cover up as my cats think that the baby chicks are appetizers.
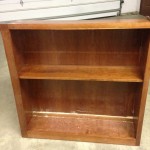
Last year when we remodeled our house we ripped out some built-in bookshelves. We were able to reuse most of them throughout the house but was one left and it’s been in the garage for the last year. I have no use for it in the house, so I’m turning the bookshelf into a brooder. The chickens can stay safely in the brooder until it’s warm enough outside for them to go into the coop.
This project was super easy. Not only did it cost under $20 but it also only took me two hours to complete.
You can build with any type of bookshelf or chest. Habitat for Humanity has them on the cheap.
- old bookshelf
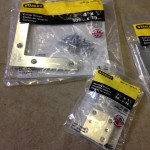
- corner and metal brackets
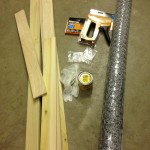
Here’s what you need.
(Materials will depend on size of your project)
1×3’s measured and cut to fit outside frame.
2 hinges
Metal corner braces
Metal square braces
1 drawer pull
Chicken wire
Cordless drill
Wire snaps
Staple gun
Stain or paint (optional)
**Get your supplies Here
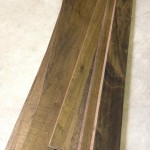
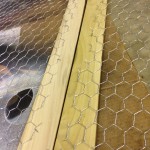
First. I stained the top and sides of my 1×3’s. I wanted the color similar to my bookshelf, however I did not buy stain at Home Depot, so I had to use walnut because it’s what I had. My bookshelf are cherry but I’m not going to be picky about it.
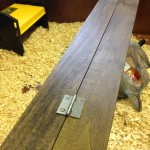
Once my wood was dry, I screwed together a frame using my corner braces, then attach the hinges for my door so I easily access the chickens.
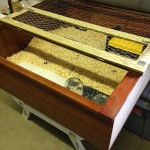
I repeated the process with the bottom door and used the square metal braces for the flat pieces of wood that needed to connect to one another.
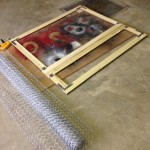
Once I had the mainframe built and all screwed together, I laid it out on the floor and measured my chicken wire. Chicken wire can be very difficult and frustrating to work with not to mention sharp.
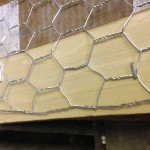
I stapled the chicken wire down to half of the frame, while pulling the wire tight, I stapled the remainder of the frame.
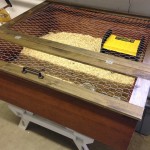
Trim up any extra chicken wire that is overhanging. Attach your drawer pull to the center of your bottom door. They do make fancy jigs to place drawer pulls on however, I found it easiest just to lay a piece of paper on top of the pull and screw through the paper into the drawer pull. And then using your piece of paper as a jig.
I am very happy with the way my chicken burger turned out. It’s nice to look at and it safe and secure for the checks. And the hinge door makes chicken maintenance a breeze.
I highly recommend using a Brinsea Ecoglow for heat vs. a old school heat lamp. Not only are they safer for the chicks, but they also cost a fraction of the price to operate. And has virtually ZERO fire risk!
YOU CAN BUY ALL YOUR CHICKEN NEEDS HERE!
Check out Incubating baby chicks. part 1,
Livin Lovin Farmin is a participant in the Amazon Services LLC Associates Program, an affiliate advertising program designed to provide a means for sites to earn advertising fees by advertising and linking to Amazon.com.
